This is a guide to publishing on PeerTube, the Fediverse’s video platform. If you want help with just watching PeerTube videos and following PeerTube accounts, click here.
Why publish on PeerTube?
There are many reasons why people choose to publish on PeerTube:
- PeerTube videos are shown without adverts or interruptions
- PeerTube servers don’t insert trackers or try to invade people’s privacy
- Video makers are not at the mercy of an opaque, ever-changing algorithm that manipulates search results
- PeerTube is part of the Fediverse, which means PeerTube accounts can be followed and interacted with from any of the millions of accounts on Mastodon etc
- PeerTube servers are totally independent and generally fairly small, so it’s easy to communicate directly with the owner if there’s a problem
- You can create your own PeerTube server if you want complete control, ownership and flexibility over your video platform (and you don’t need to be a tech nerd or rich to make your own server)
1. Sign up on an existing server, or start your own server?
There are two main ways to publish on PeerTube: sign up on an existing server that belongs to someone else, or start your own server.
The existing server option is much easier, and is the most popular option for individual accounts. Bear in mind some servers allow you to sign up but don’t allow uploads, so you’ll have to find a server that allows uploads for its members. You can sign up by clicking the Request an account button at the top of the server’s website.
Some well-run servers where you can currently sign up and upload are listed below. By default they are general servers, but ones with a specific theme have been marked:
There are also some servers where uploads are possible but you need to contact the server admin directly in order to activate the upload function for your account:
You can also look at the account addresses of existing PeerTube accounts to see where they are hosted. Their server will be mentioned in the last part of their Fediverse address. To browse existing PeerTube accounts, have a look at fedi.video ⧉.
Wait a minute, that’s quite a short list. Surely there are many more PeerTube servers out there?
Yes, there are! PeerTube’s official website lists a lot more PeerTube servers ⧉, but bear in mind PeerTube’s official list tends to be wider in scope and less curated than the server list in this Fedi.Tips guide.
Alternatively, start your own server!
Starting your own server is a bit more complicated, but not as difficult as you might think. You don’t need to be a tech nerd any more, there are now managed hosting services specifically for non-technical people.
Running your own server gives you full control over what happens on it, which can be really useful and fun. It also lets you provide accounts to other people if you want to. The servers can talk to other servers on the Fediverse or stay isolated, it’s entirely up to the person running the server. There are three ways to run your own:
If you have any technical questions about hosting a PeerTube server, there is an official PeerTube hosting forum ⧉ which is pretty good.
Isn’t it really expensive to run your own video service?
It’s not as expensive as you might think. For example the Fedihost managed hosting service starts from $6.99 US per month, similar to the price level on other managed hosts. If you’re techy and don’t need a managed hosting service, it gets even cheaper.
(This is the starting price though, the price increases if you need more storage and/or want to host videos from many different people on the same server.)
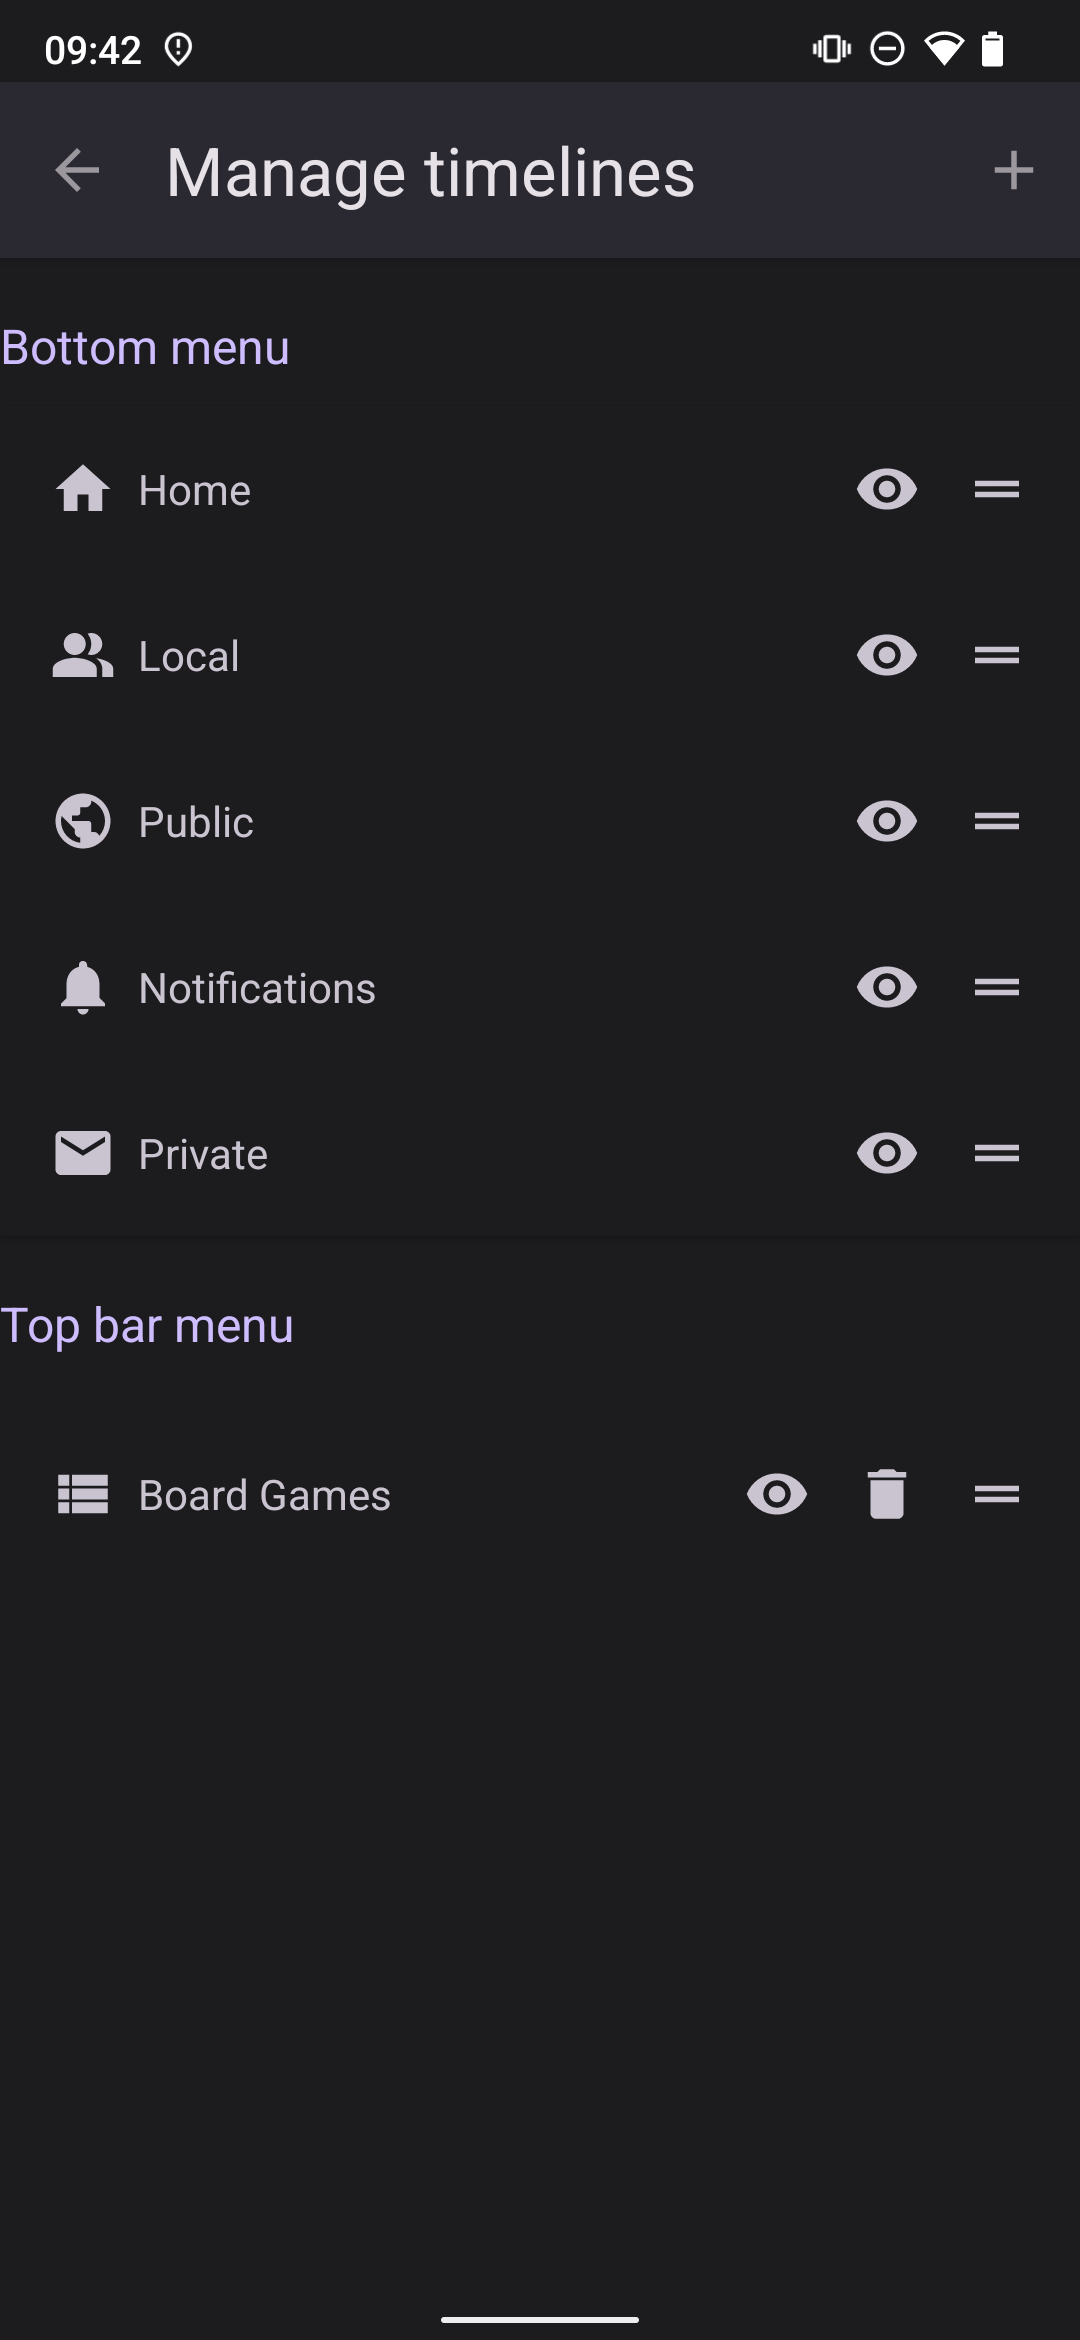
2. Accounts vs Channels
Whatever method you use to get onto PeerTube, you will need to create an account and channels for your videos to be uploaded to. Accounts are what you use to log into PeerTube, and channels are like categories for your videos to go into.
When viewed through PeerTube, PeerTube channels will look like subcategories of accounts.
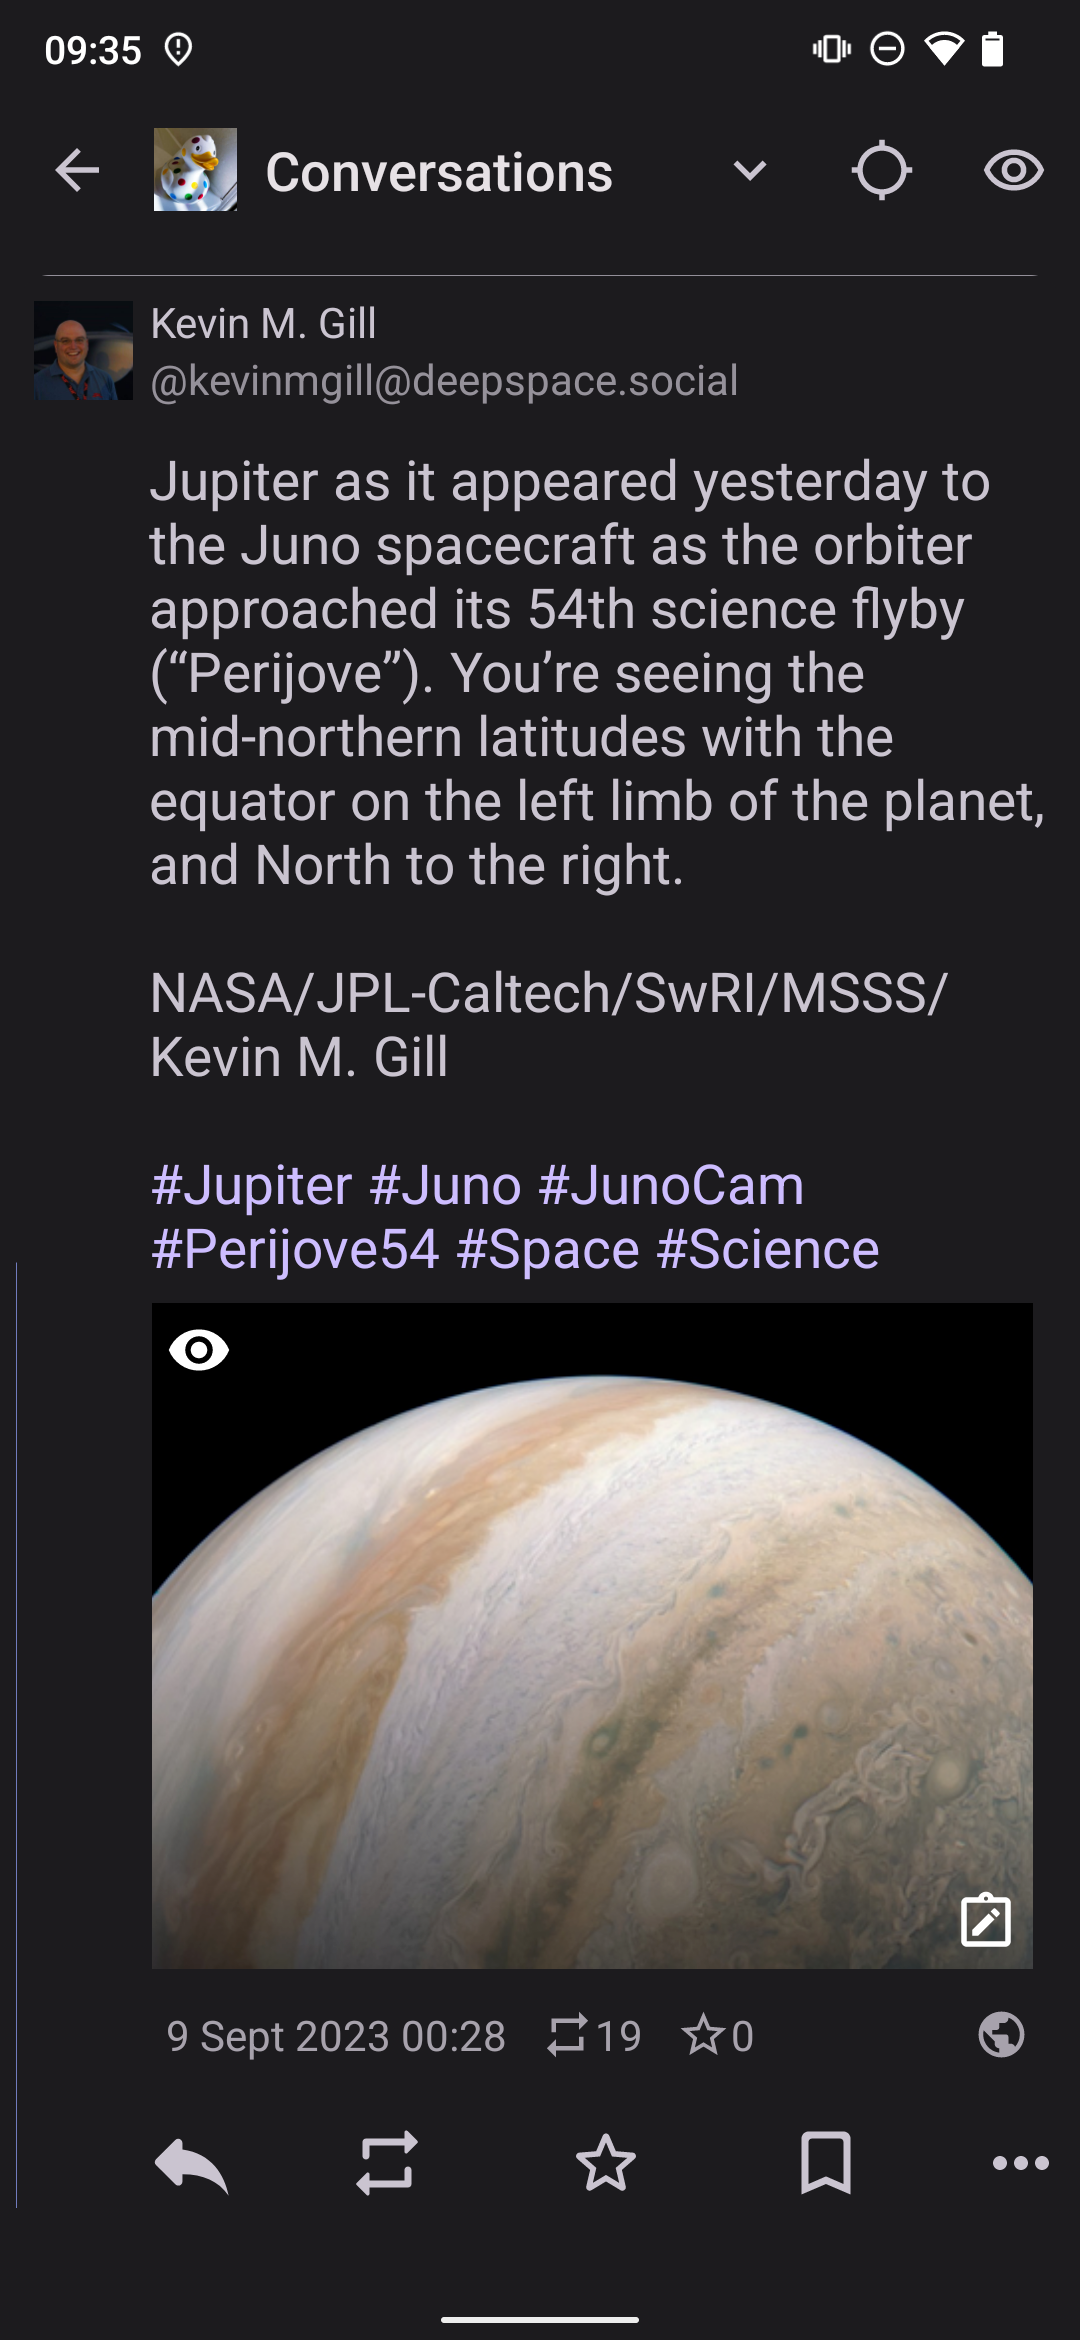
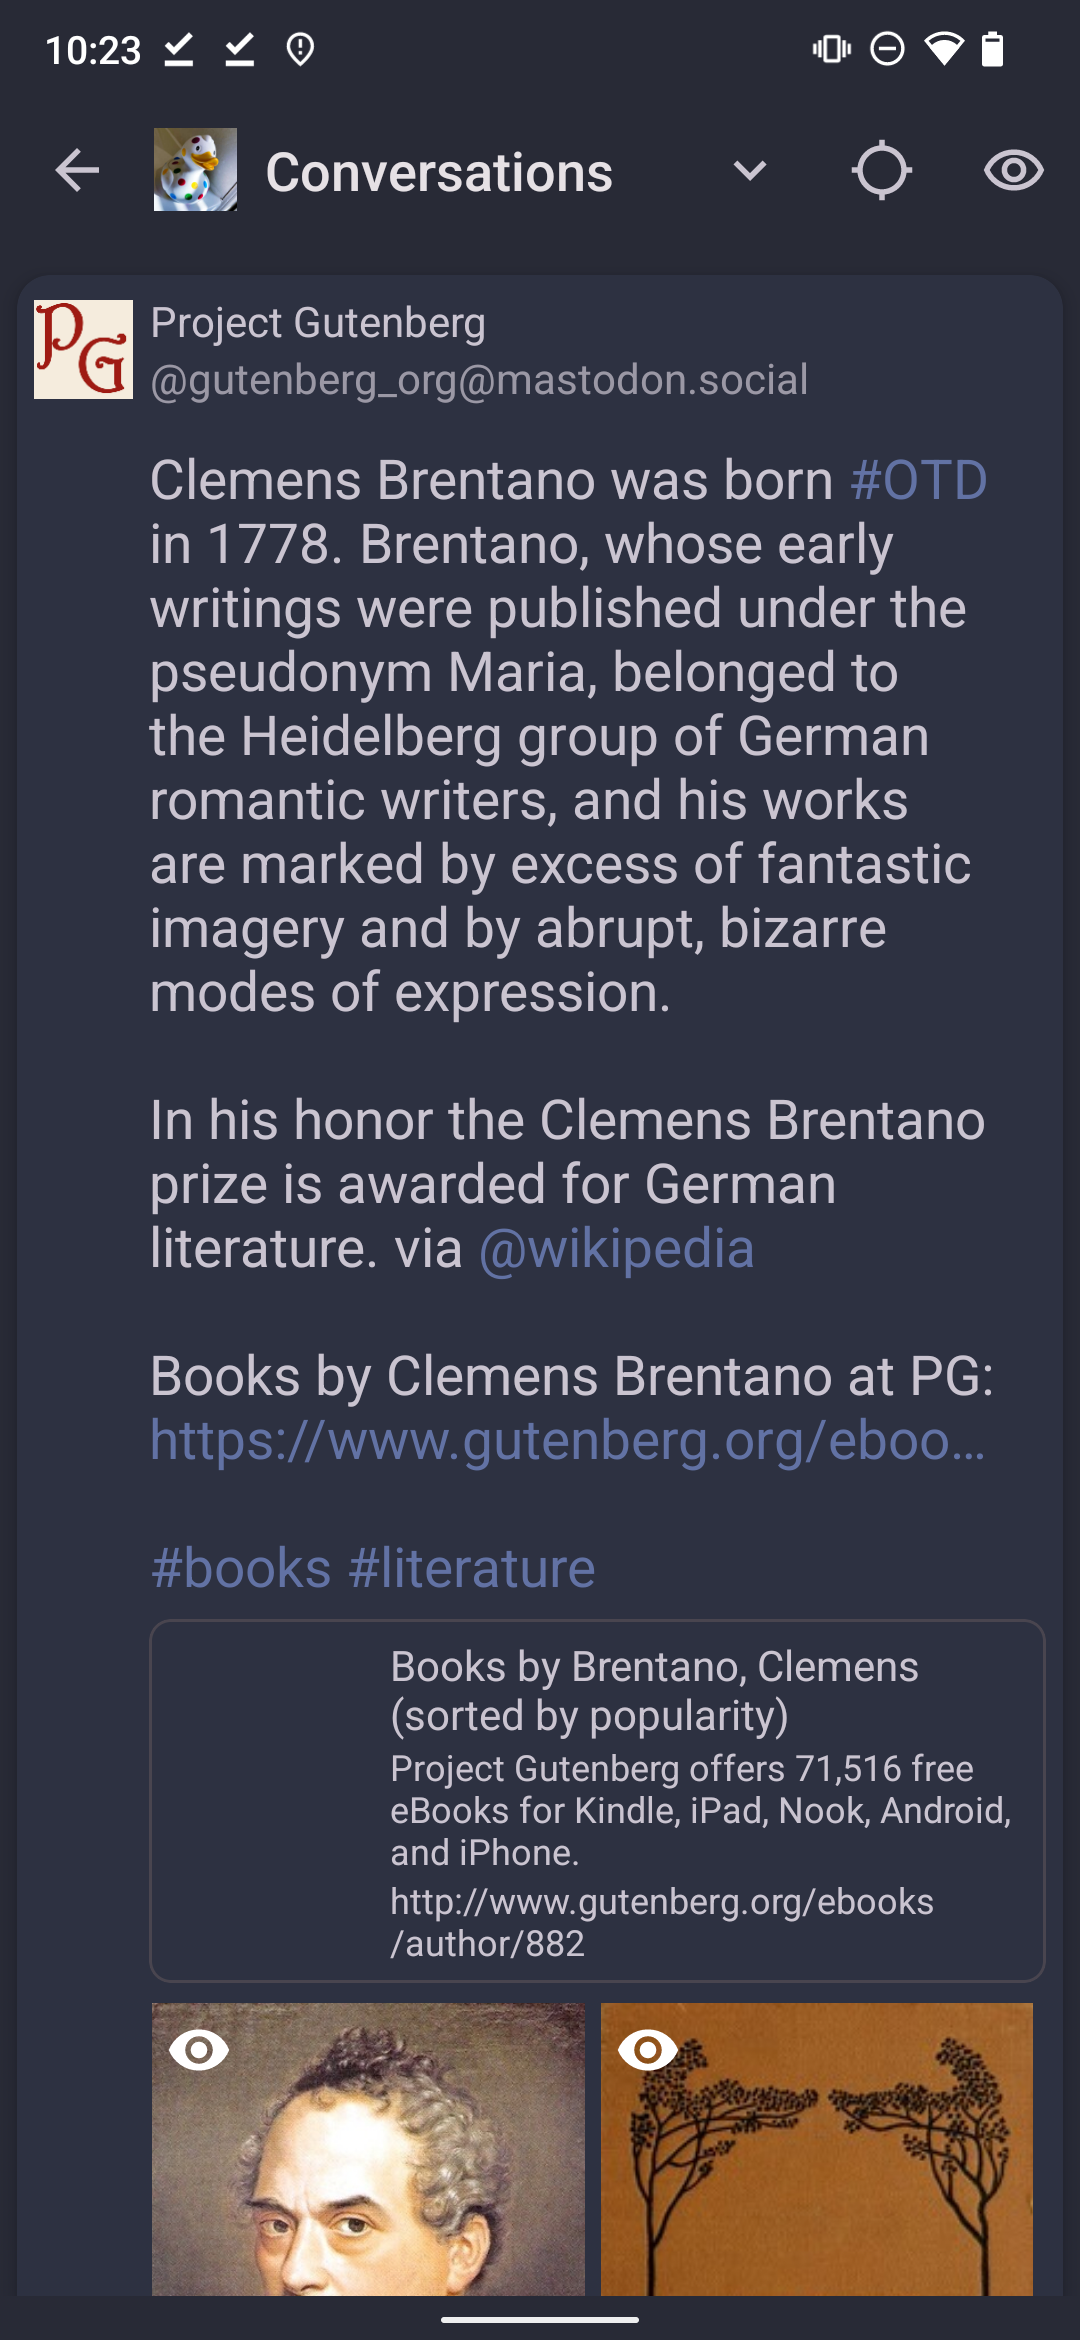
When viewed through Mastodon, PeerTube videos will only have the account’s username on them. You can also follow PeerTube channels from Mastodon but they will look like groups that are boosting the videos from your PeerTube account.
NOTE: For a long time there was a bug that stopped PeerTube videos federating correctly to Mastodon if people only followed their PeerTube channels without following the PeerTube account. However, the bug has now been fixed so this is no longer a problem.
3. Choose your account and channel address carefully
Every account and channel has a display name in big letters, and a Fediverse address in smaller letters below that.
You can change your account or channel display names any time you want, but the account and channel addresses have to stay the same. Fediverse addresses cannot be changed for the same reason that website addresses or email addresses cannot be changed, because any change to an address would break existing connections from other sites.
So, be really sure about your addresses when you are setting up an account and an channel, as you will need to stick with those addresses. If you need to change your identity or branding, changing the display name is a much safer option than fiddling with the addresses.
4. Start publishing your videos gradually
You can upload videos through your server’s website, or though PeerTube-compatible apps like Fedilab.
To publish a video via your server’s website:
- Log onto your PeerTube server’s website
- Click the Publish button
- Do NOT immediately select a file. First select the correct channel.
- After you’ve set the channel, select the video file you want to publish. The video will now start uploading.
- You will then be taken to the publishing page where you can fill in all the details of the video. If you intend it to be a public video, fill in as much as you can to make your video more discoverable. Tags can be filled in by writing a word or phrase and then pressing enter. You can upload a thumbnail or select a frame from the video.
- You might want to wait for your video to finish transcoding, which is indicated by a progress bar at the top. Transcoding is the technical process where the server turns your video file into a form it can publish online. This can take a while depending on how long and high quality your video file is and how many resources your server has. It’s worth waiting for transcoding to finish, because after it’s finished transcoding you can choose the exact moment it is published. If you don’t wait, the publication won’t actually happen anyway until transcoding is finished.
- When you’re ready to make your video public, in the Privacy section select “Public”, then click the Save button. (If transcoding isn’t finished yet, the actual publication won’t happen until transcoding has happened.)
If you already have videos on another service, you can automatically transfer your YouTube etc videos over to PeerTube ⧉. However, see part 5 below before you do this as you may want to upload gradually. Also, syncing from another service means technically lower quality videos than if you upload the original version of the video.
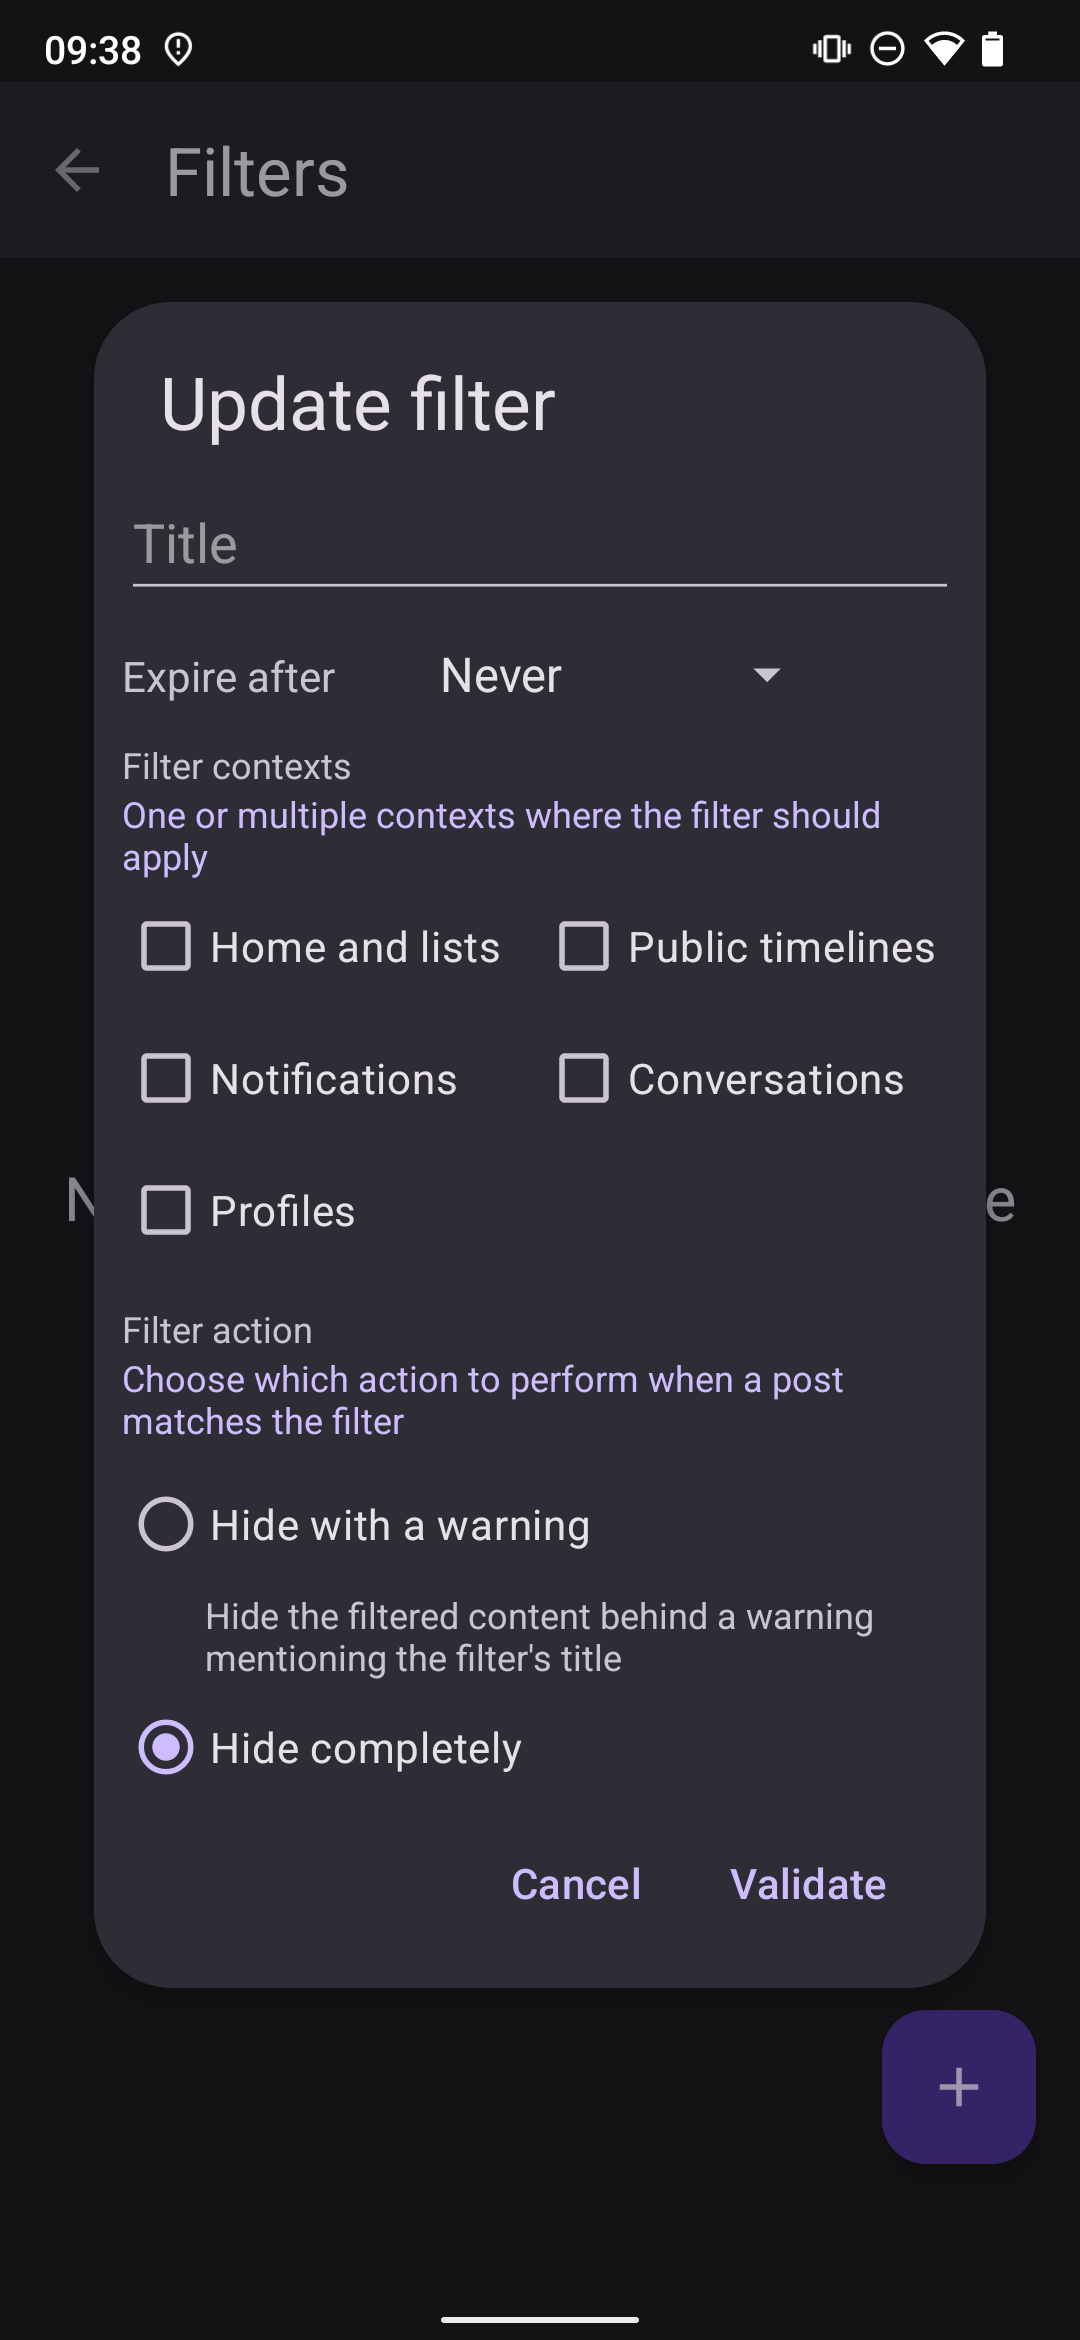
5. Try not to publish all your videos at once
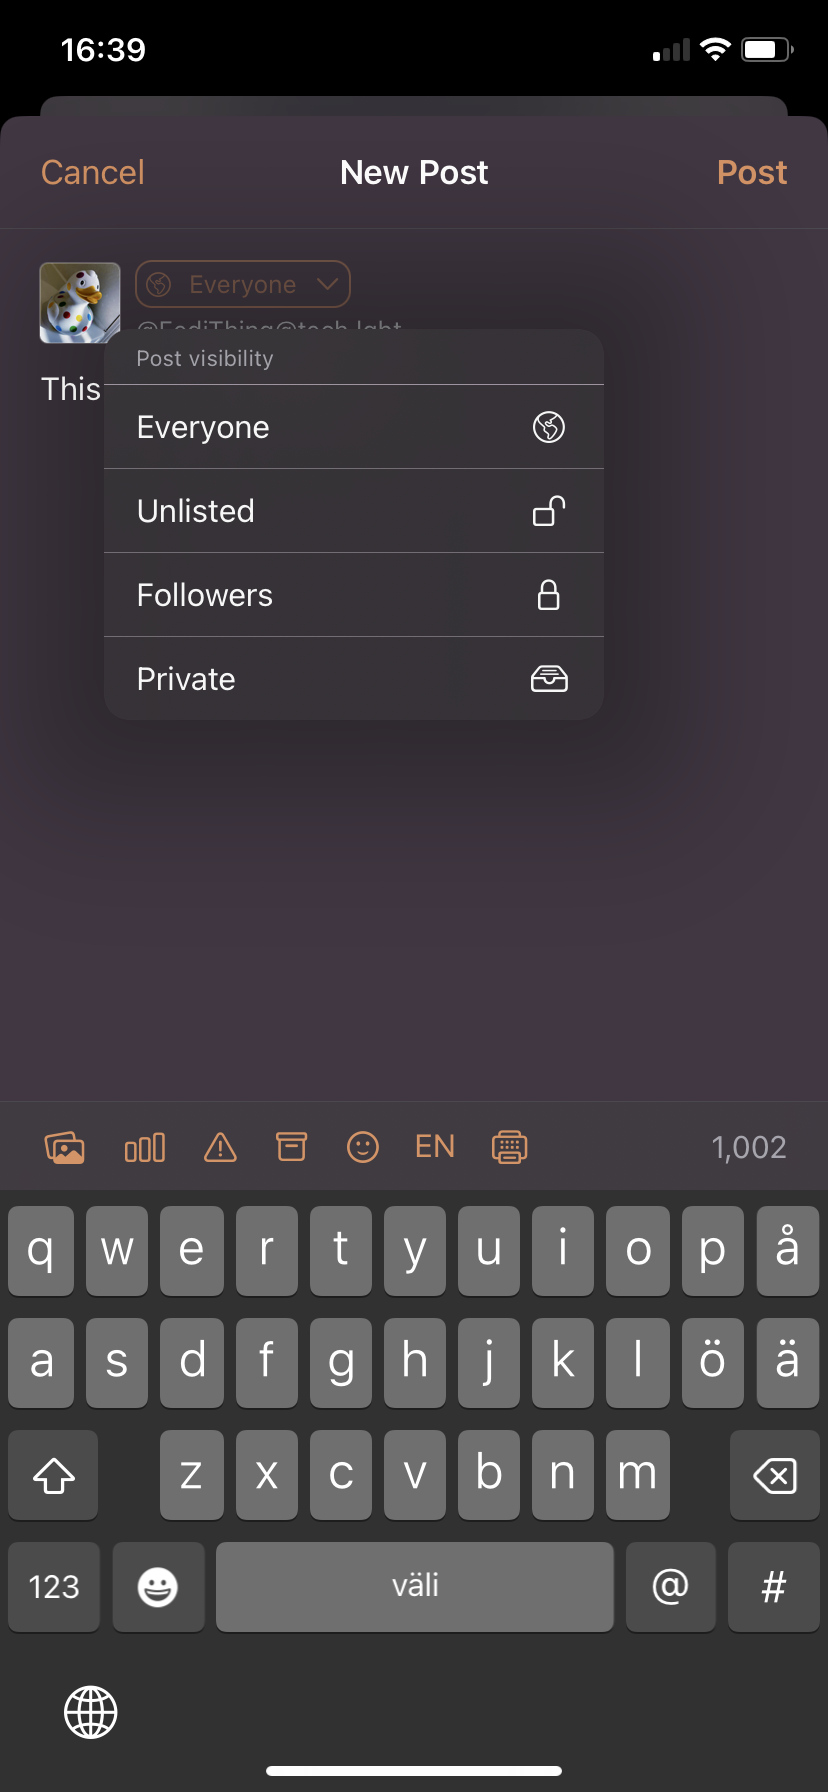
Because of the way content federates across most of the Fediverse, it is highly recommended that you publish videos gradually, perhaps a few a day at most, rather than all at once. You can upload all at once though, as long as you select the private visibility setting during the upload process. You can publish an uploaded private video by changing its visibility from private to public. If you upload in public visibility, the video is published straight away.
If you publish all your videos at once before you have any followers, Mastodon users will see your profile as totally blank and may not know you have uploaded any videos at all. Gradual publication allows you to build up a following, which in turn allows your videos to federate to a much wider audience, gaining you even more followers.
If you’ve already published all your videos in one batch, you can either take some down or hide some and republish them gradually as your follower numbers grow, or you can boost some from your Mastodon account (if you have one). To boost videos on Mastodon, paste the video’s web address into the Mastodon search box, and then clicking the video’s boost button in Mastodon. This will cause the PeerTube video to federate to your Mastodon server and all the servers of people who follow your Mastodon account.
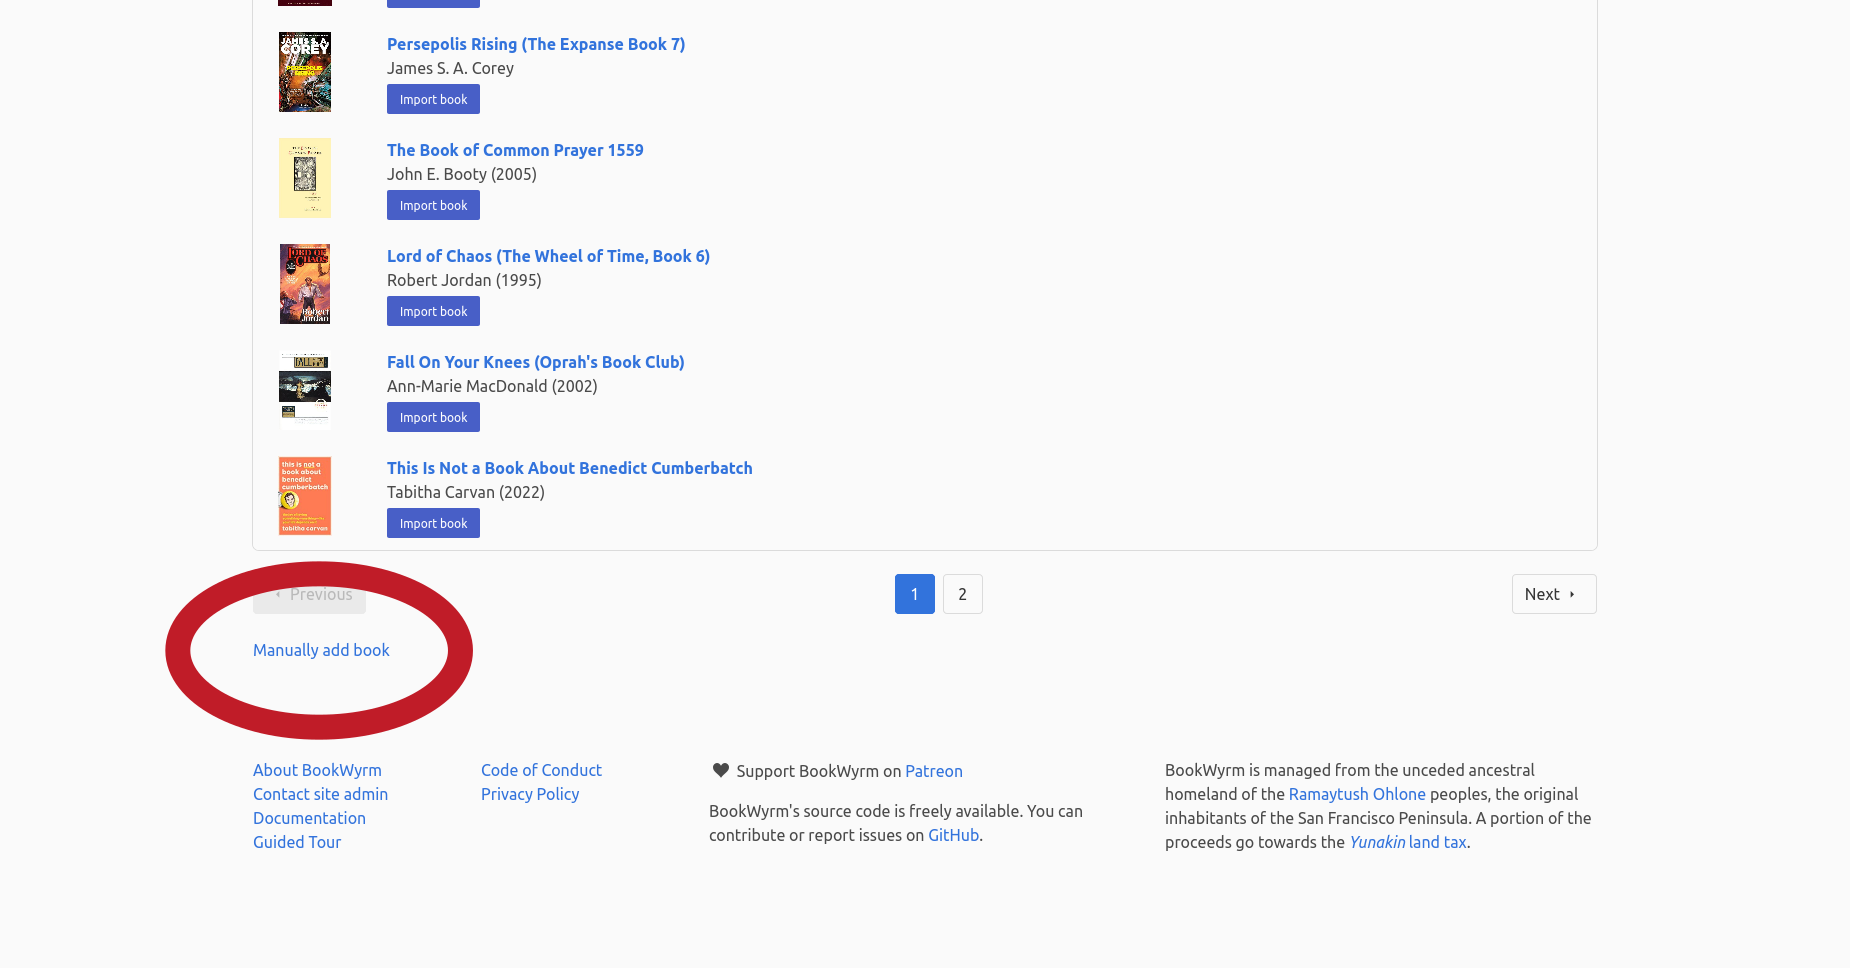
If you have an account on an existing video service, you can import videos directly to your PeerTube account using the Import with URL feature ⧉, but only do this for videos you have legal permission to share. Also bear in mind the automatic import feature reduces the picture quality of the video, and it’s better to upload the original file if you can ⧉.
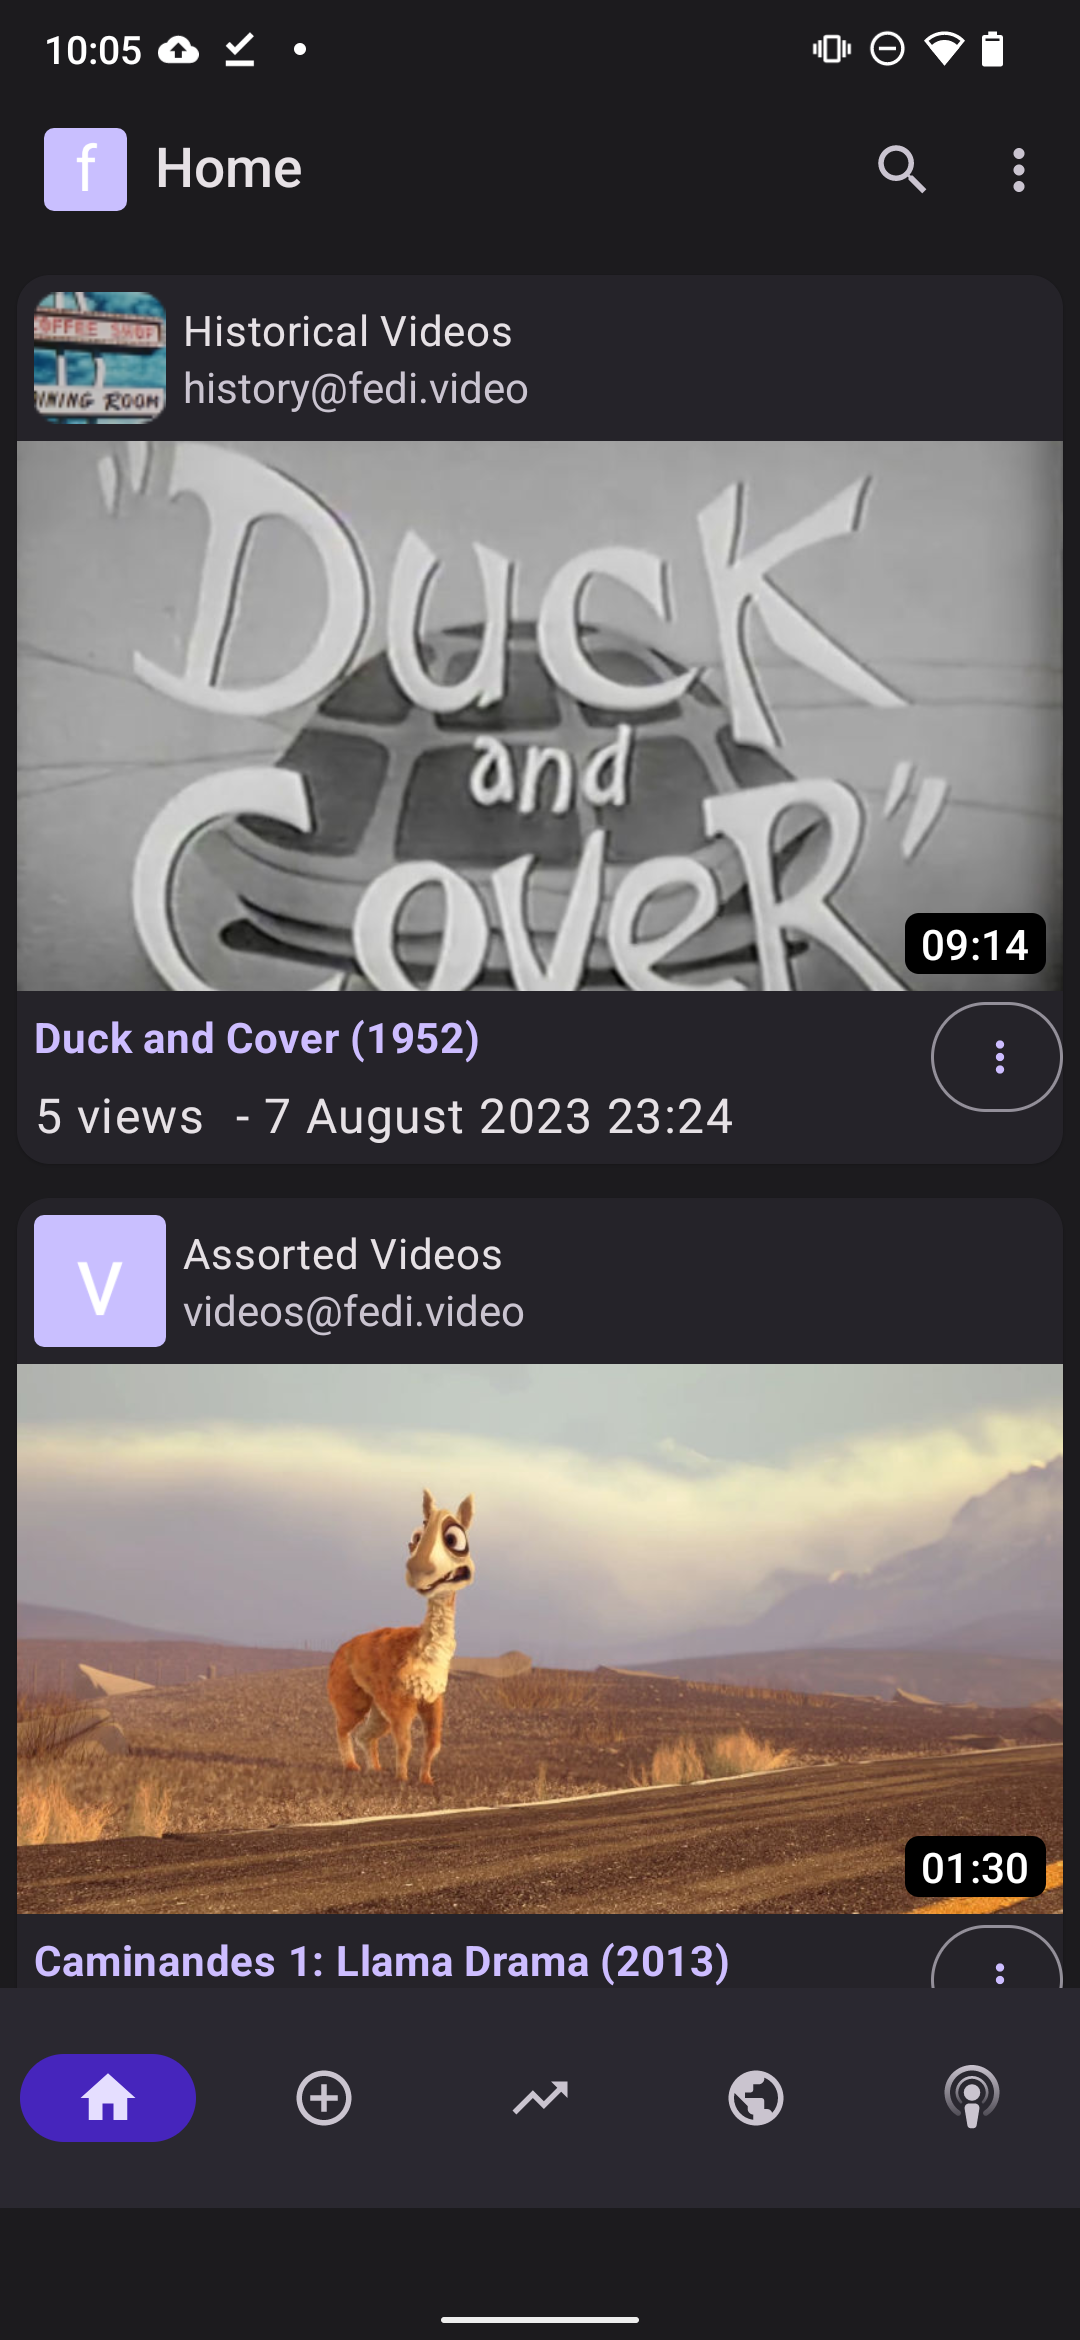
6. Think about what time of day you publish
Most people on the Fediverse use chronological timelines, so they see posts appearing at the time they were written. On the Fediverse there isn’t an algorithm punishing or rewarding accounts, people simply follow and see all posts from everyone they follow.
This means it’s a good idea to publish videos at a time when your potential audience is awake and looking at their timelines. If you publish when your audience is sleeping, they are much less likely to see your video. (They might still see it from searches and shares, though.)
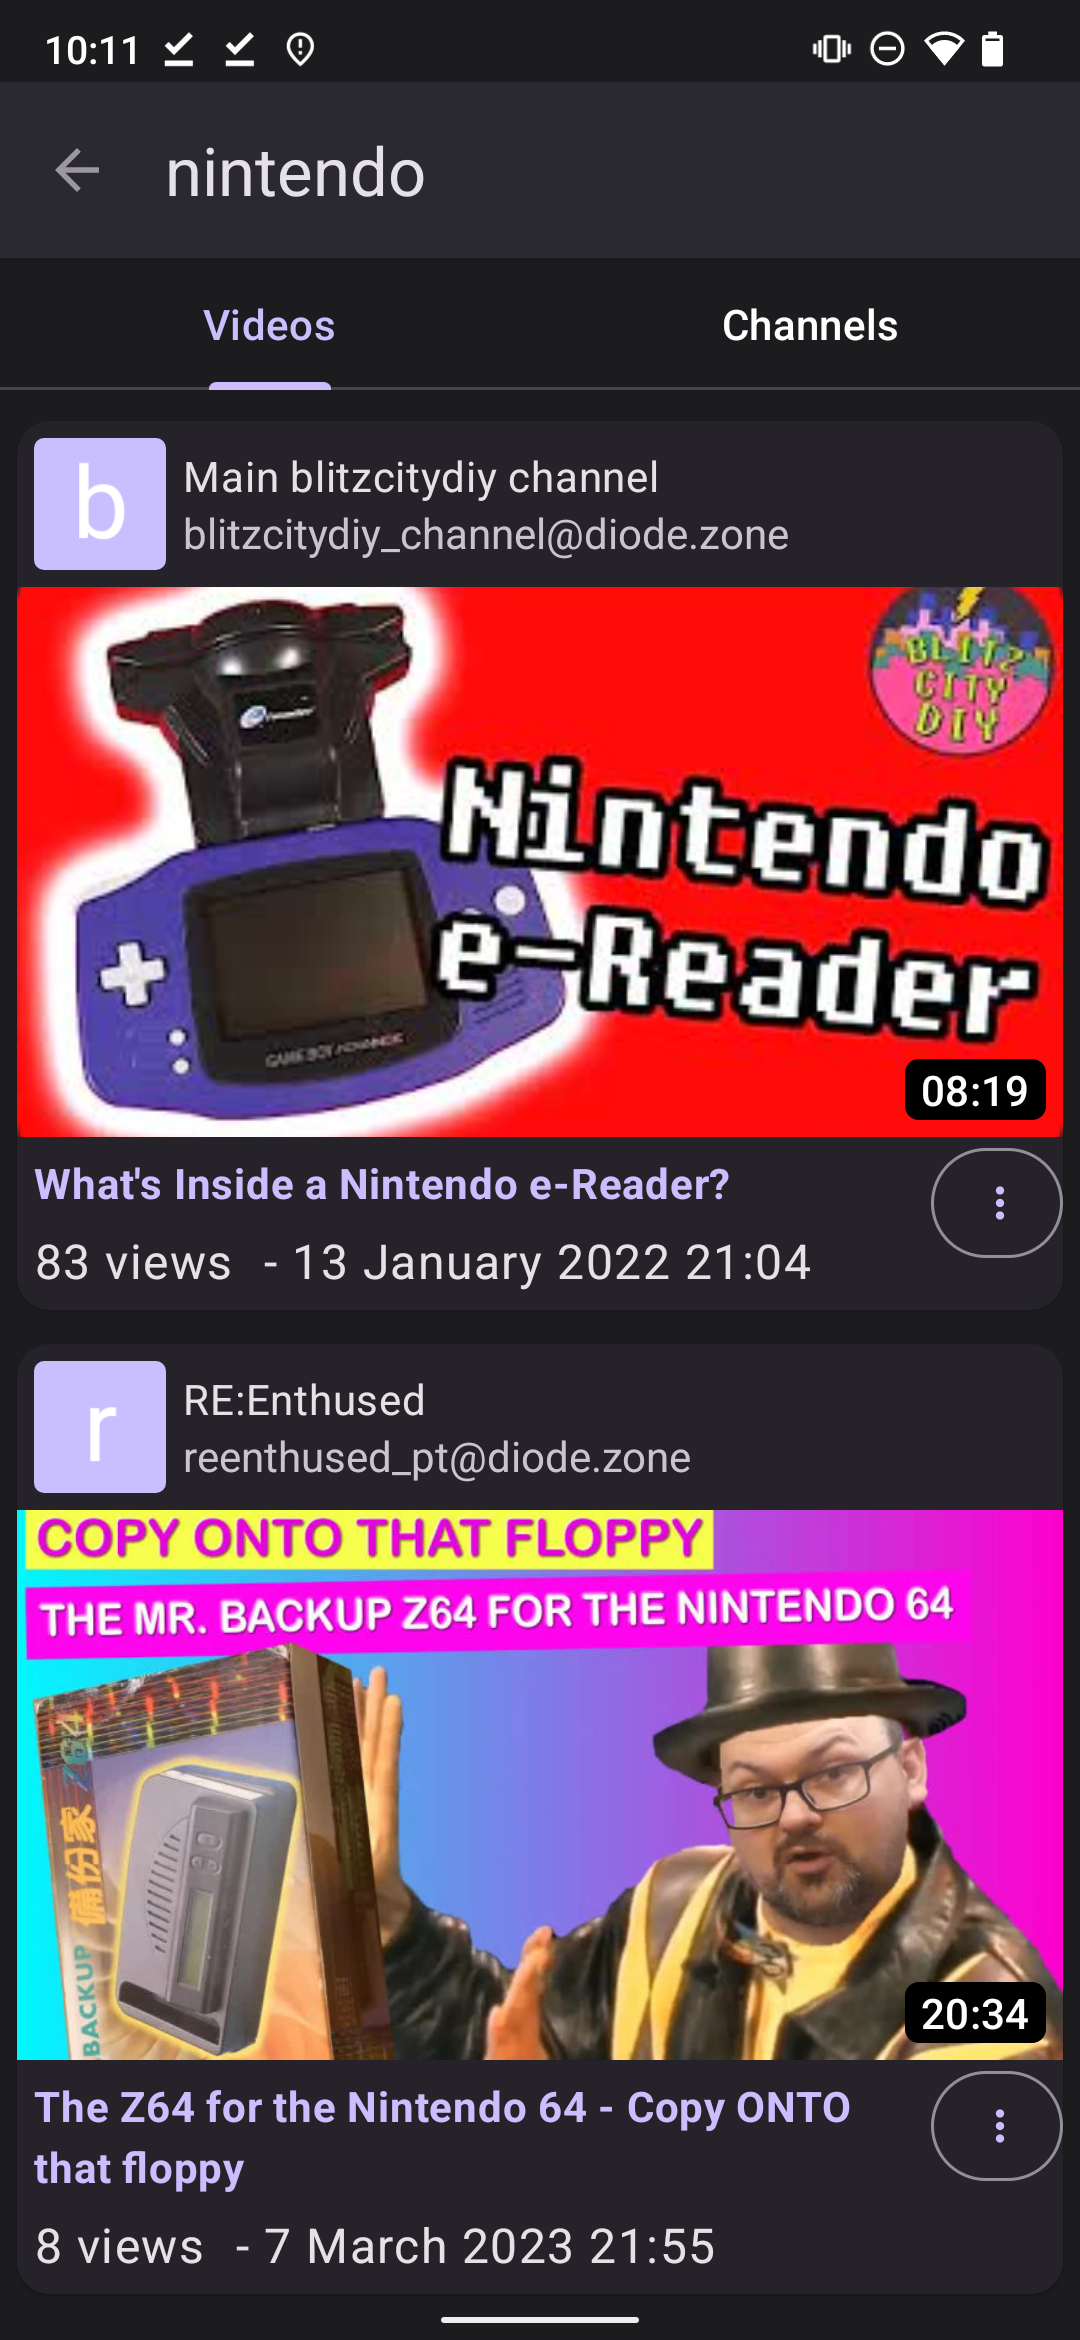
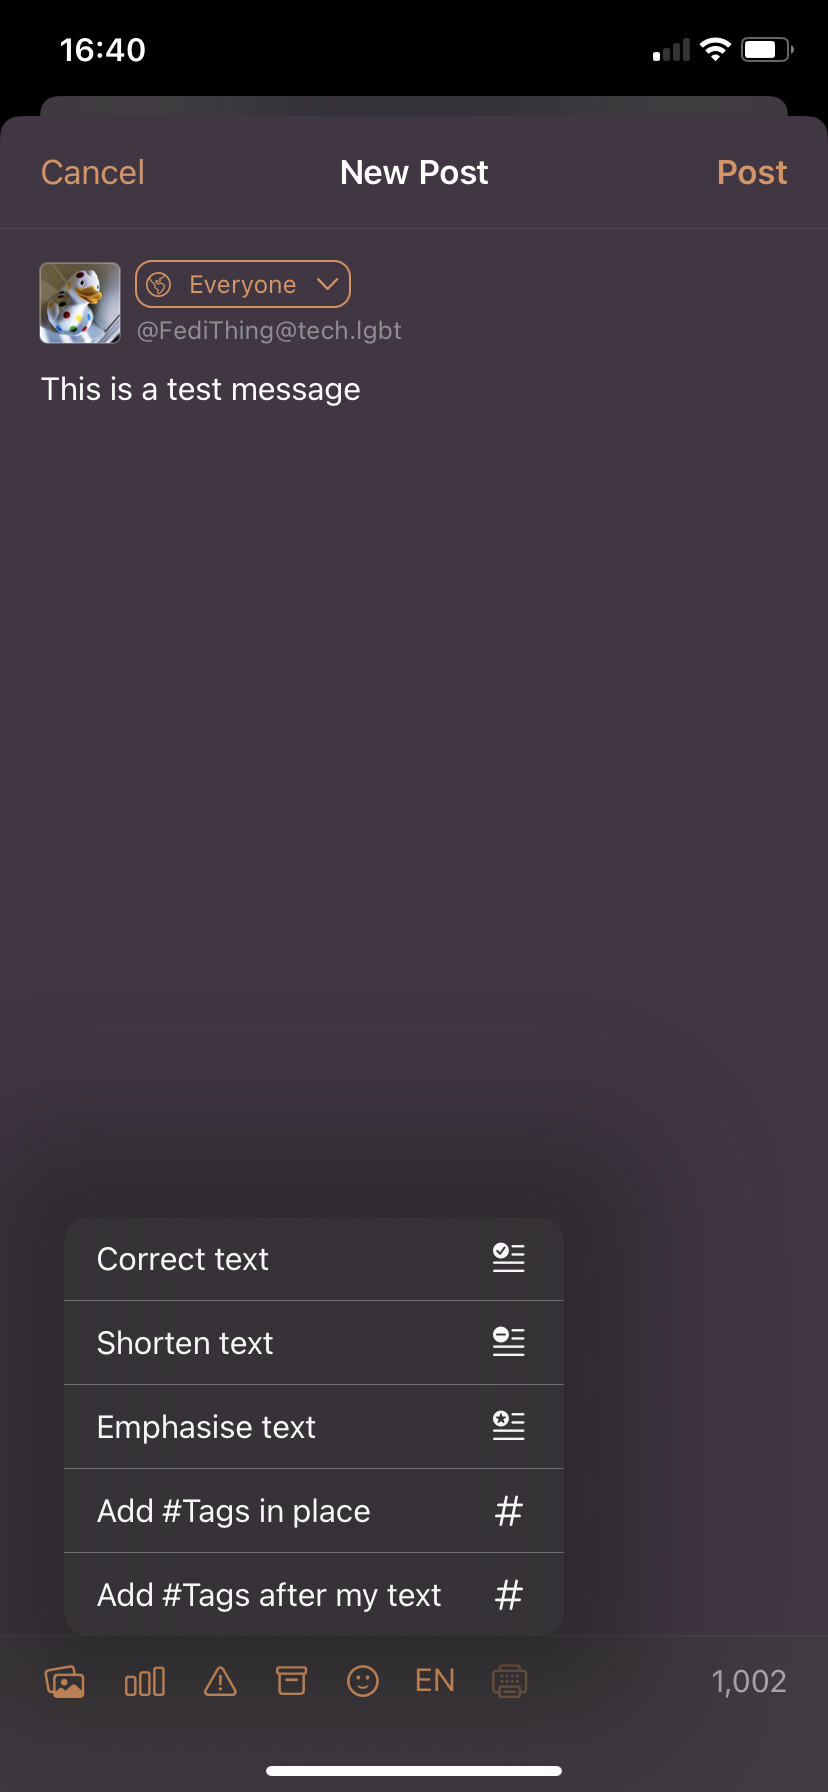
7. Tag your videos
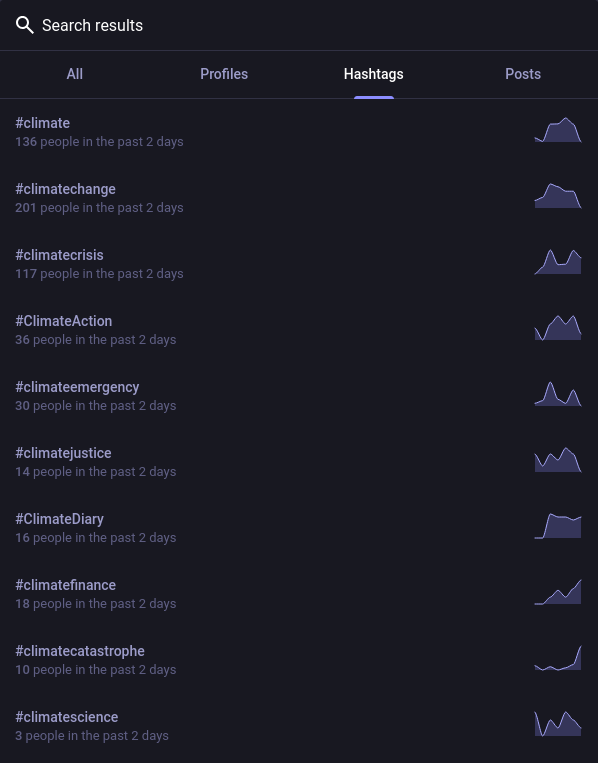
Lots of people on Mastodon follow hashtags and search for hashtags, so it’s important to tag your PeerTube videos so that they will be noticed by Mastodon users.
To tag a video, to go the video’s Tags section and enter a word or phrase for a tag and then press enter. After you press enter, the tag will be created, and you can add another tag (you can have up to five on a video).
You don’t need to include the symbol # on your PeerTube tags. PeerTube tags will automatically have # added when the video is viewed from Mastodon etc.
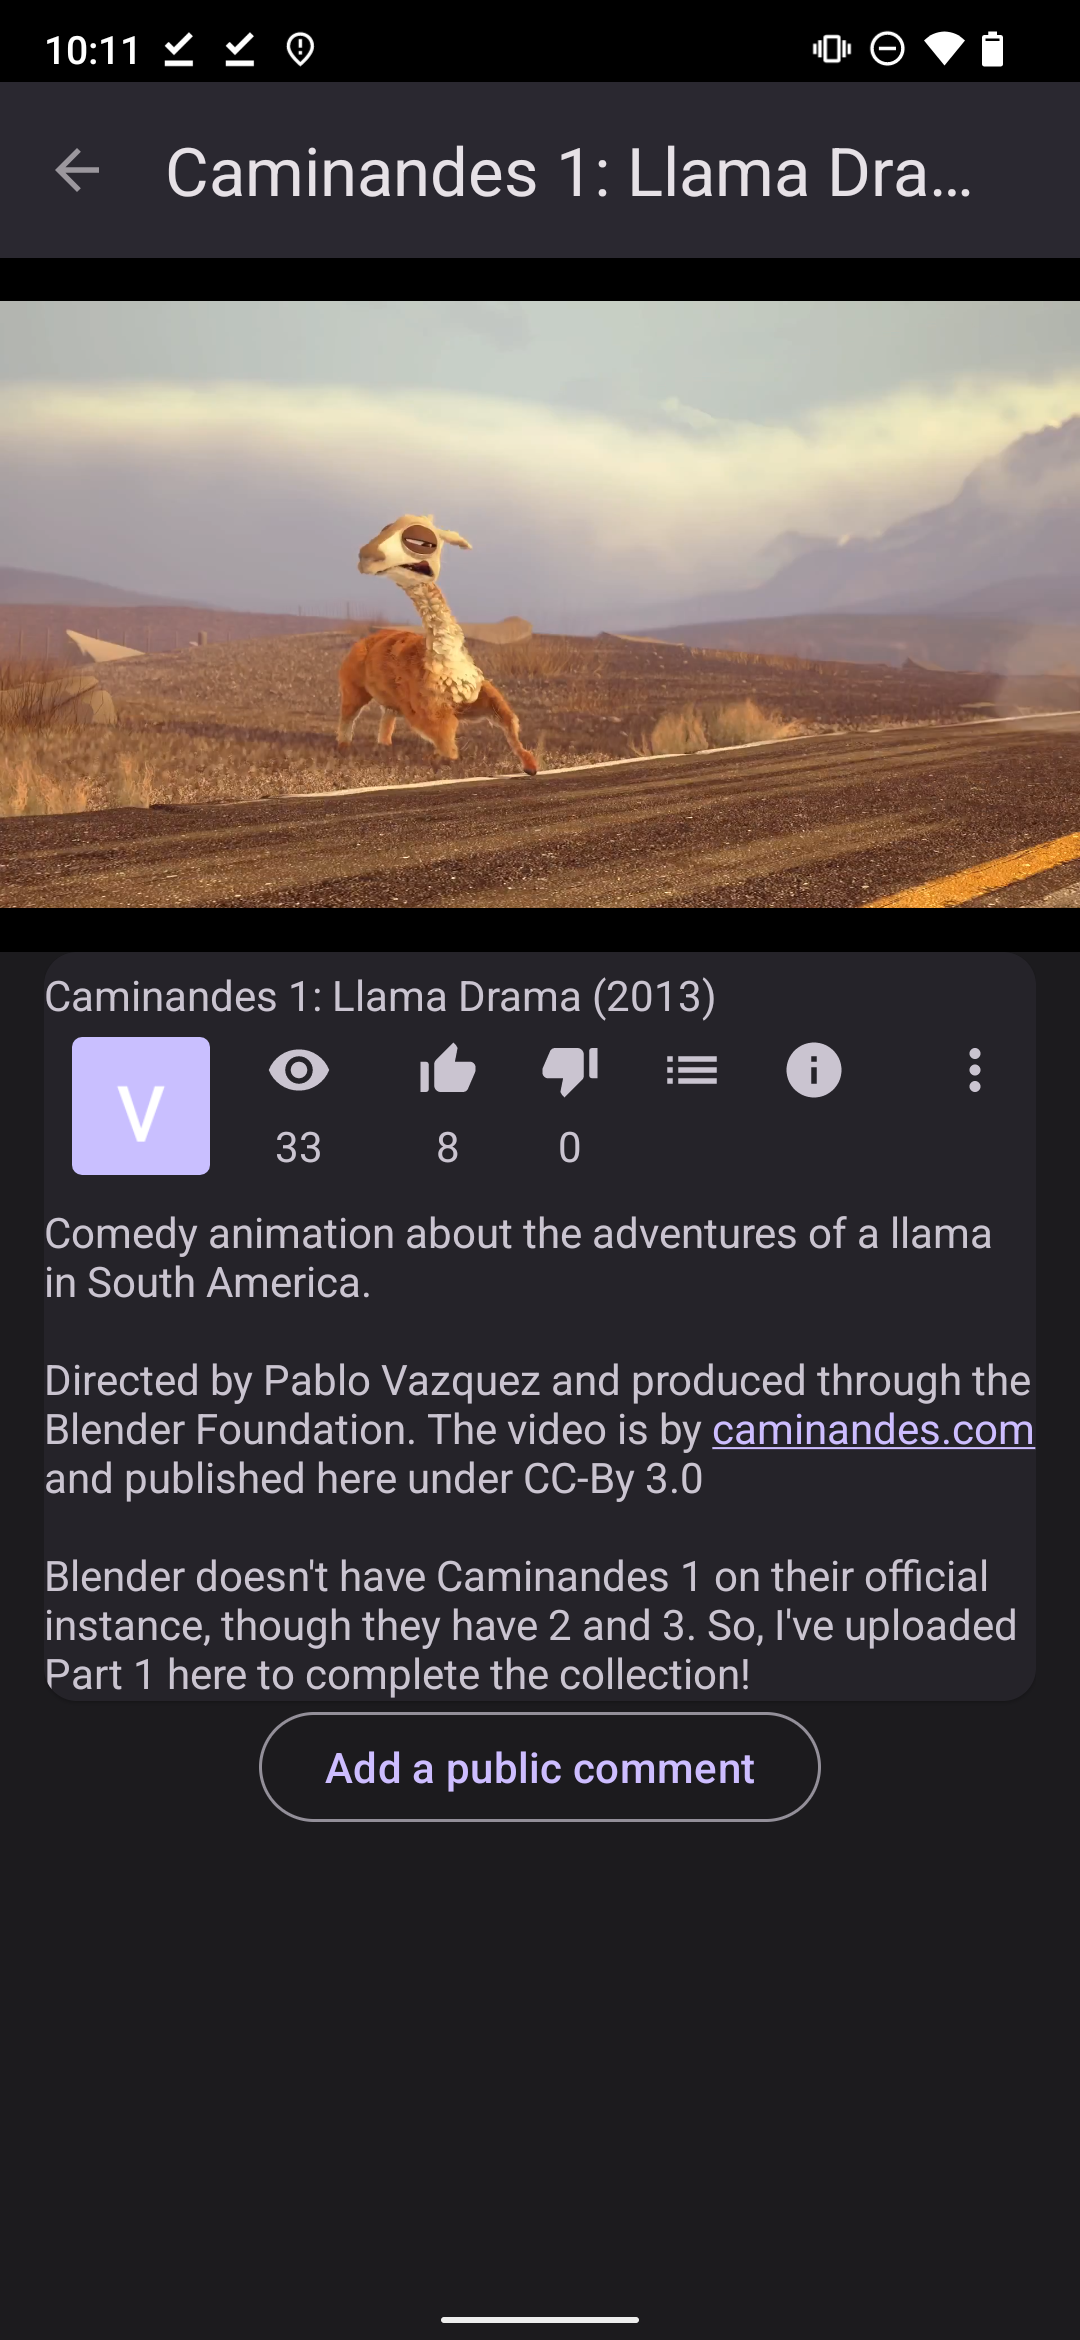
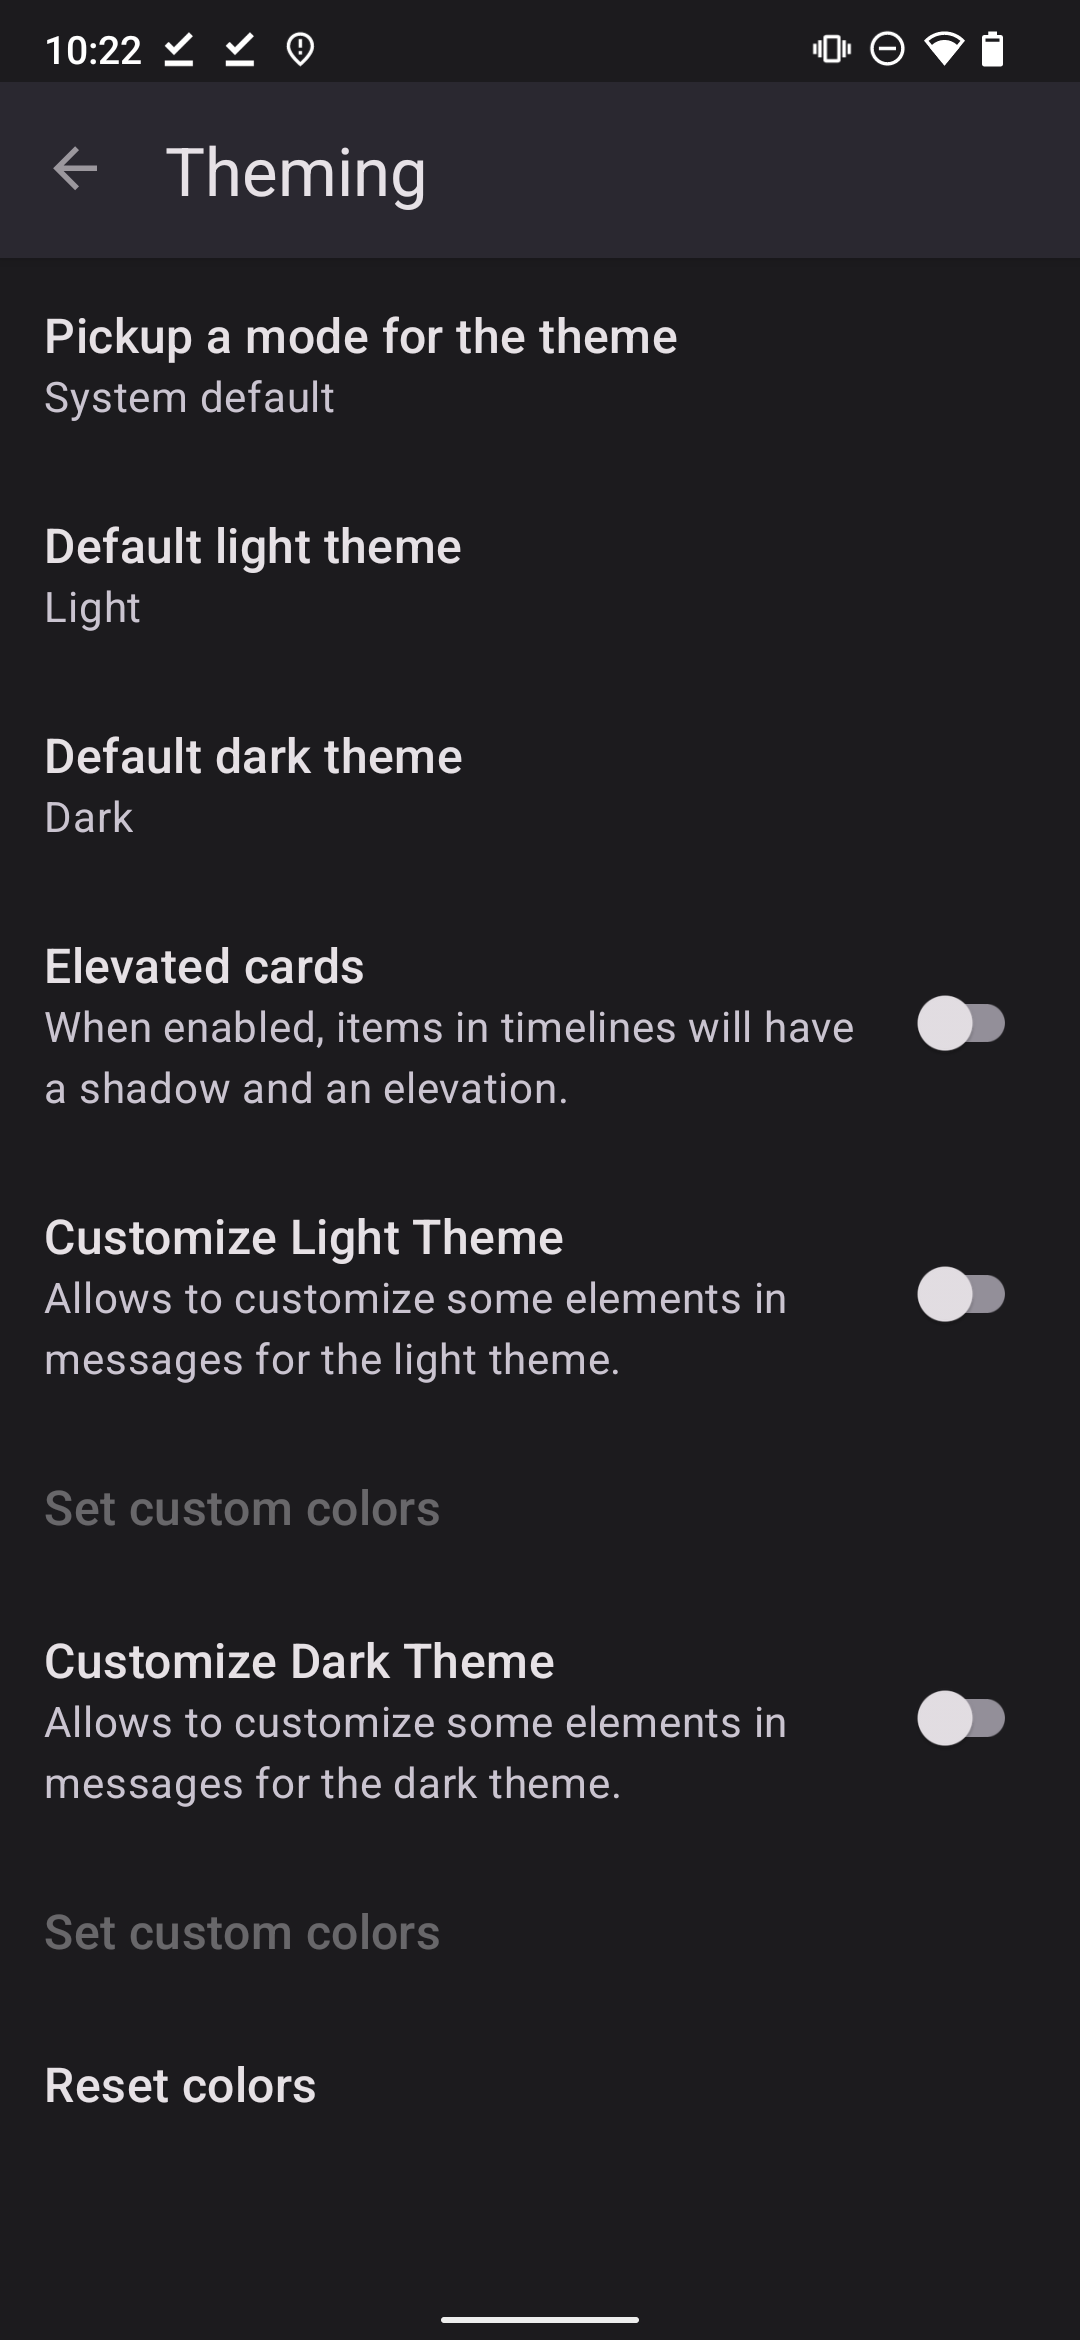
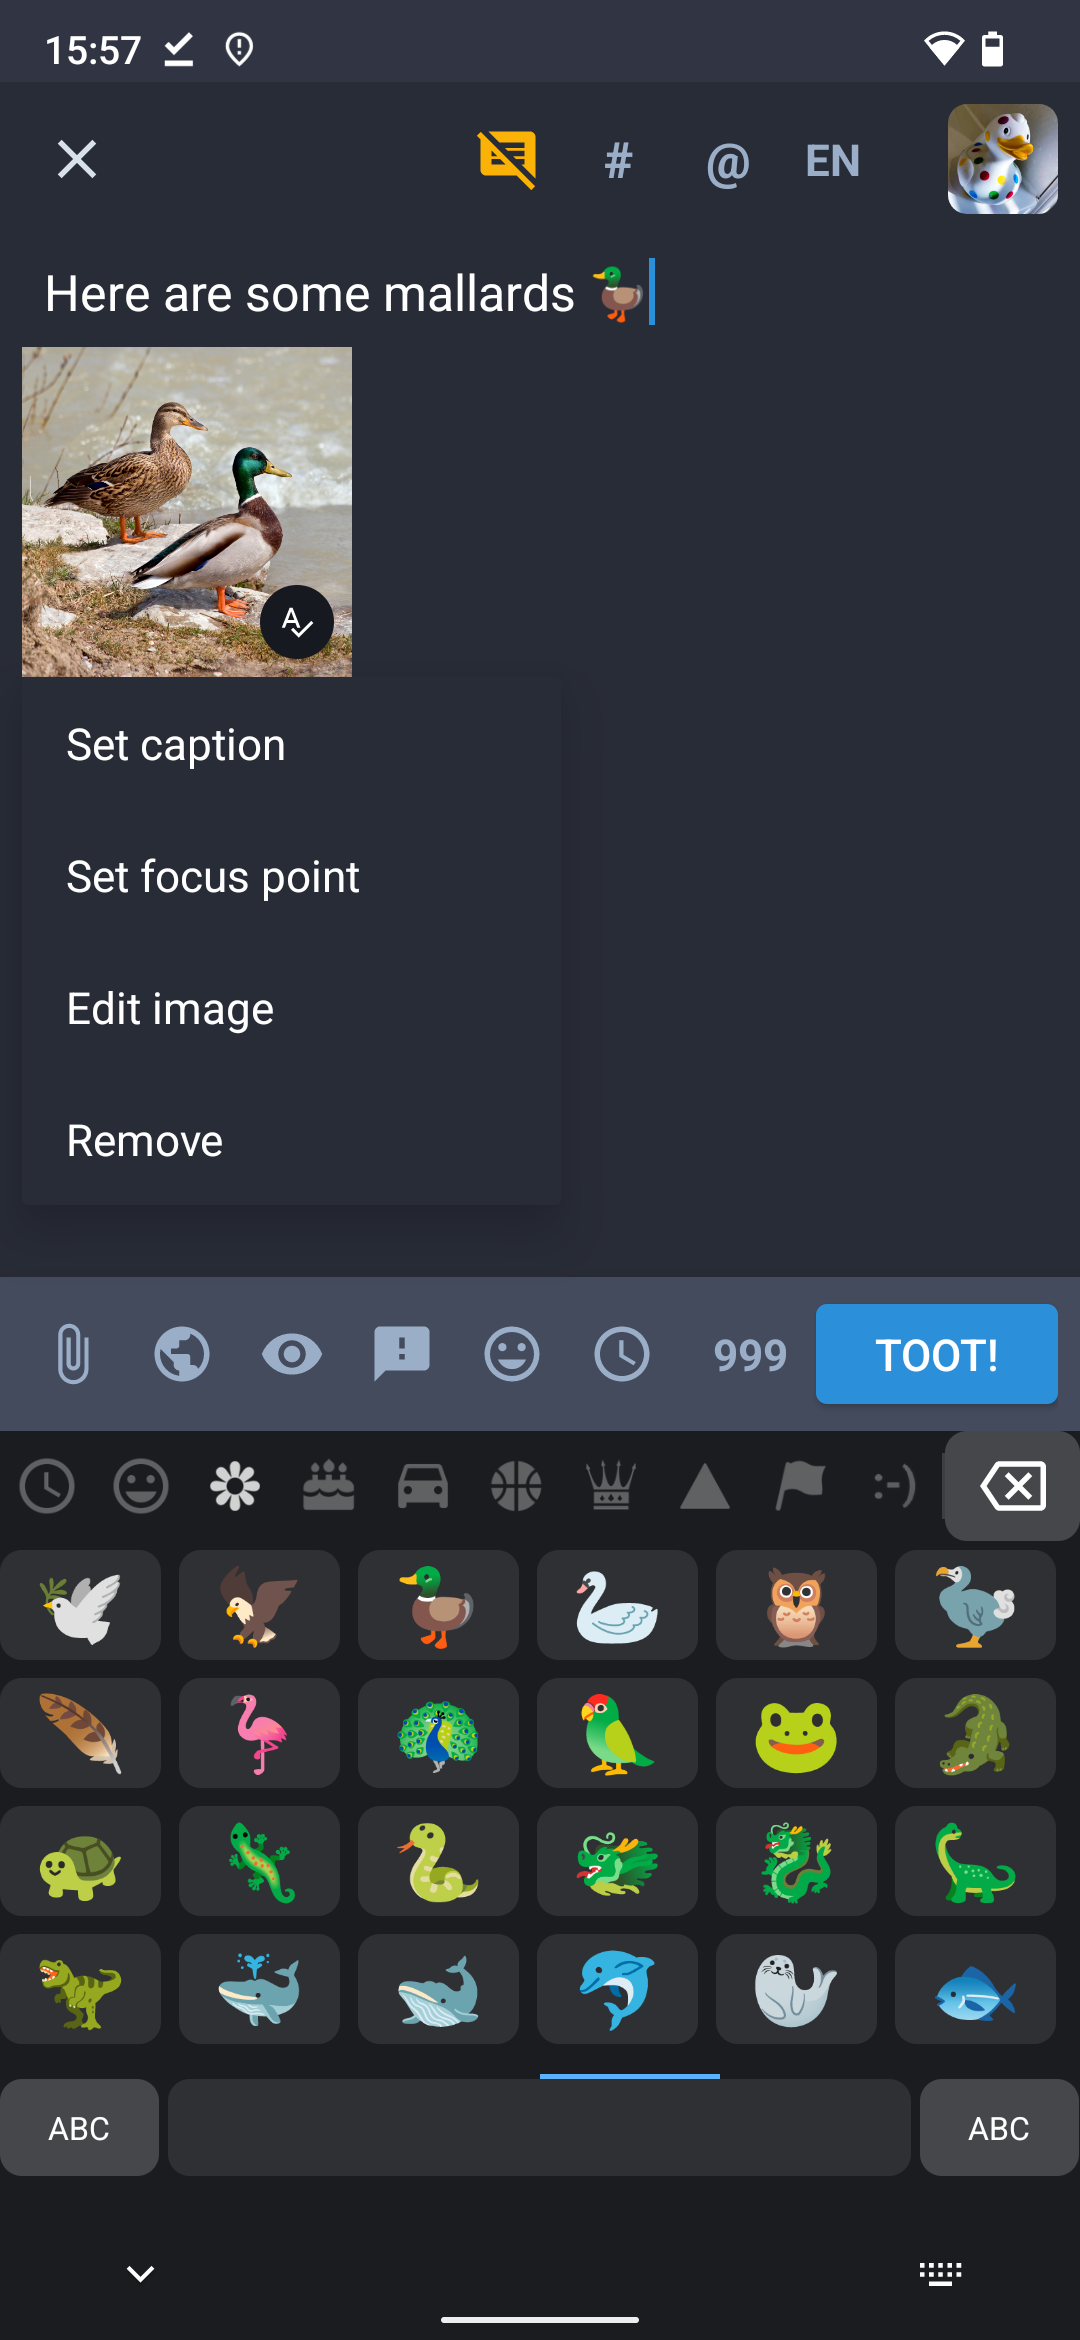
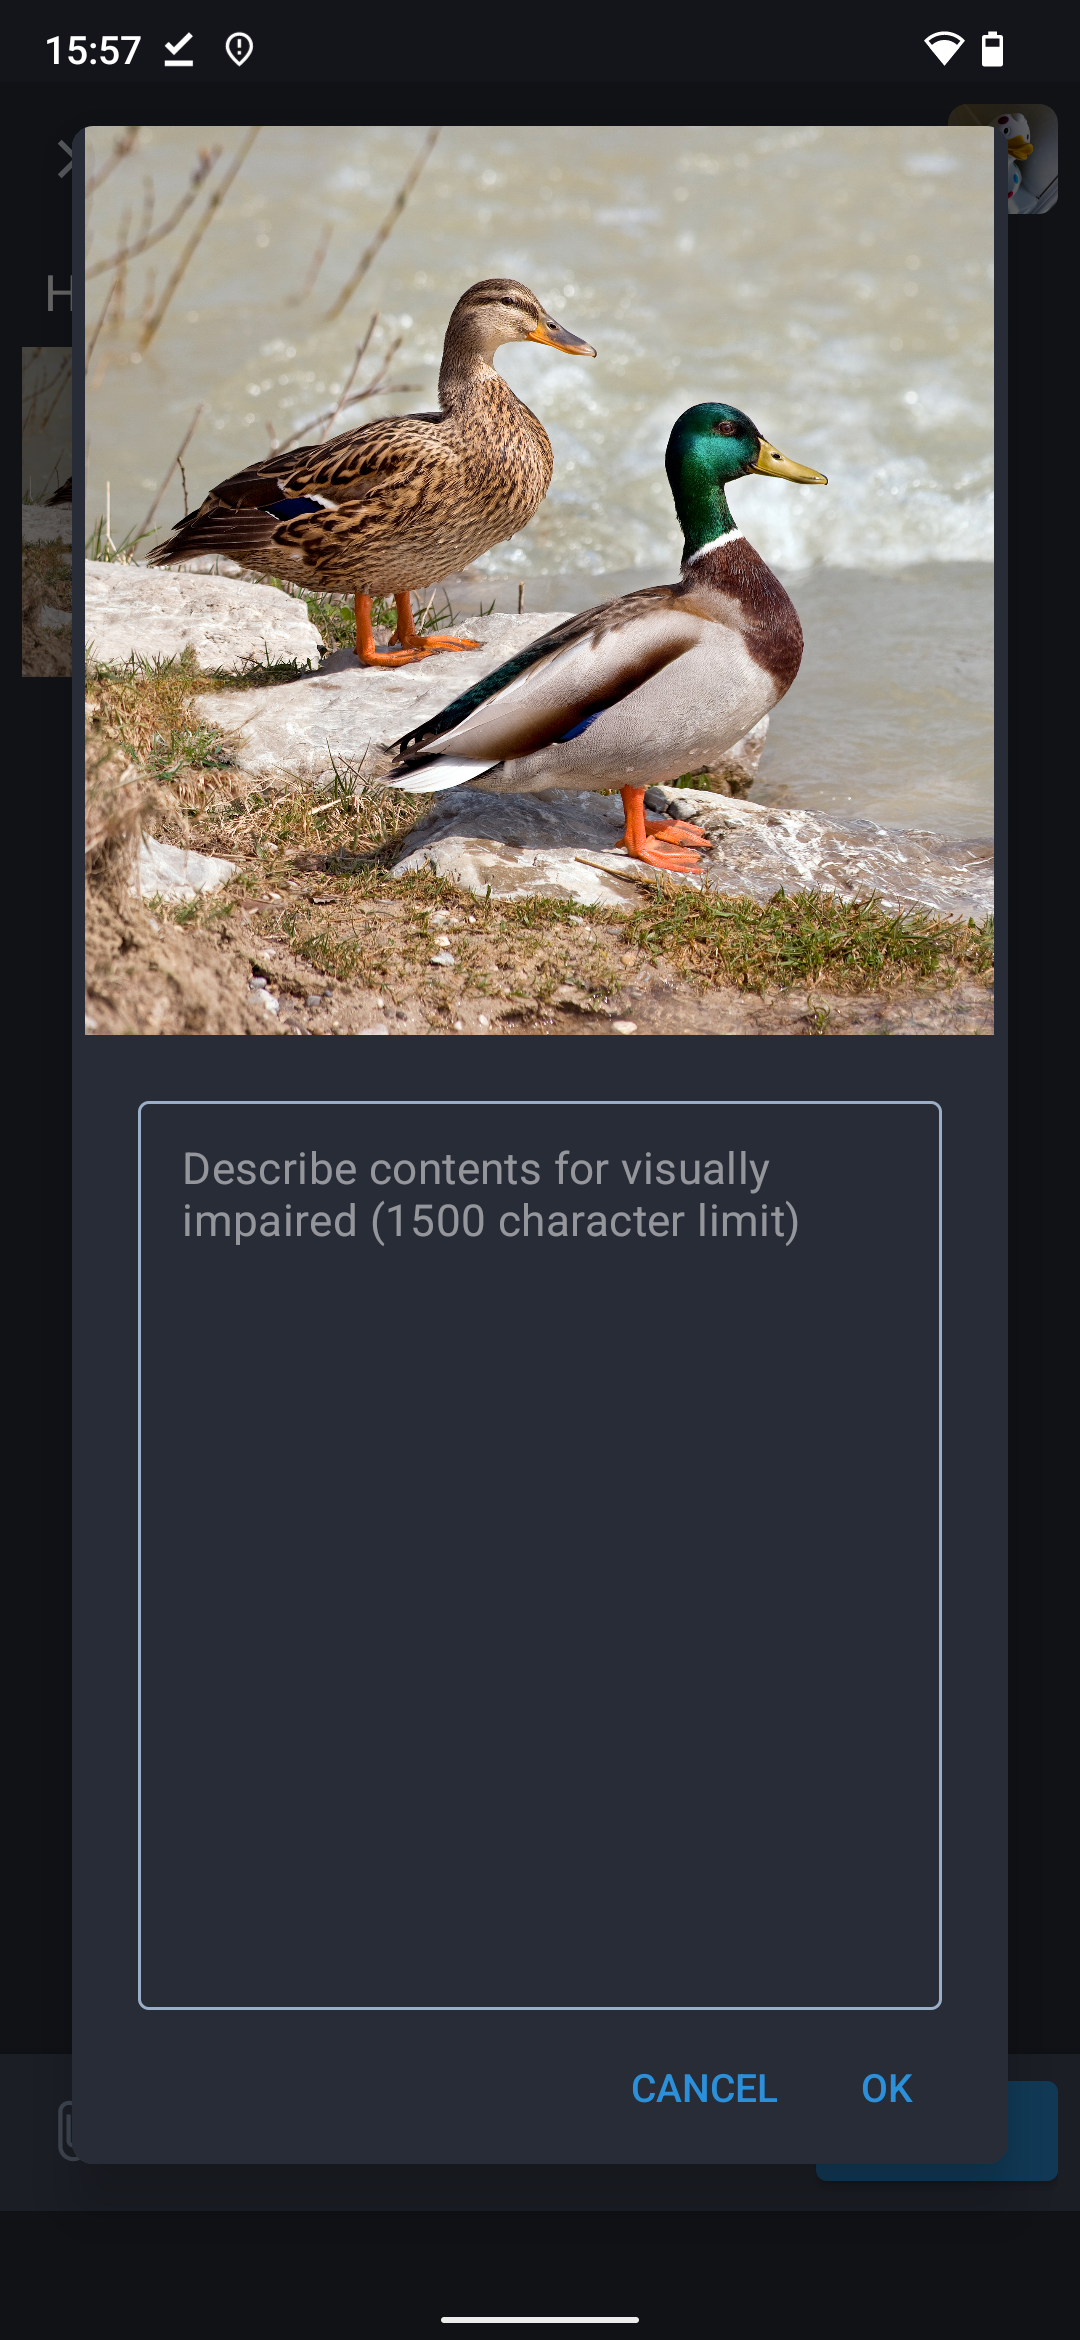
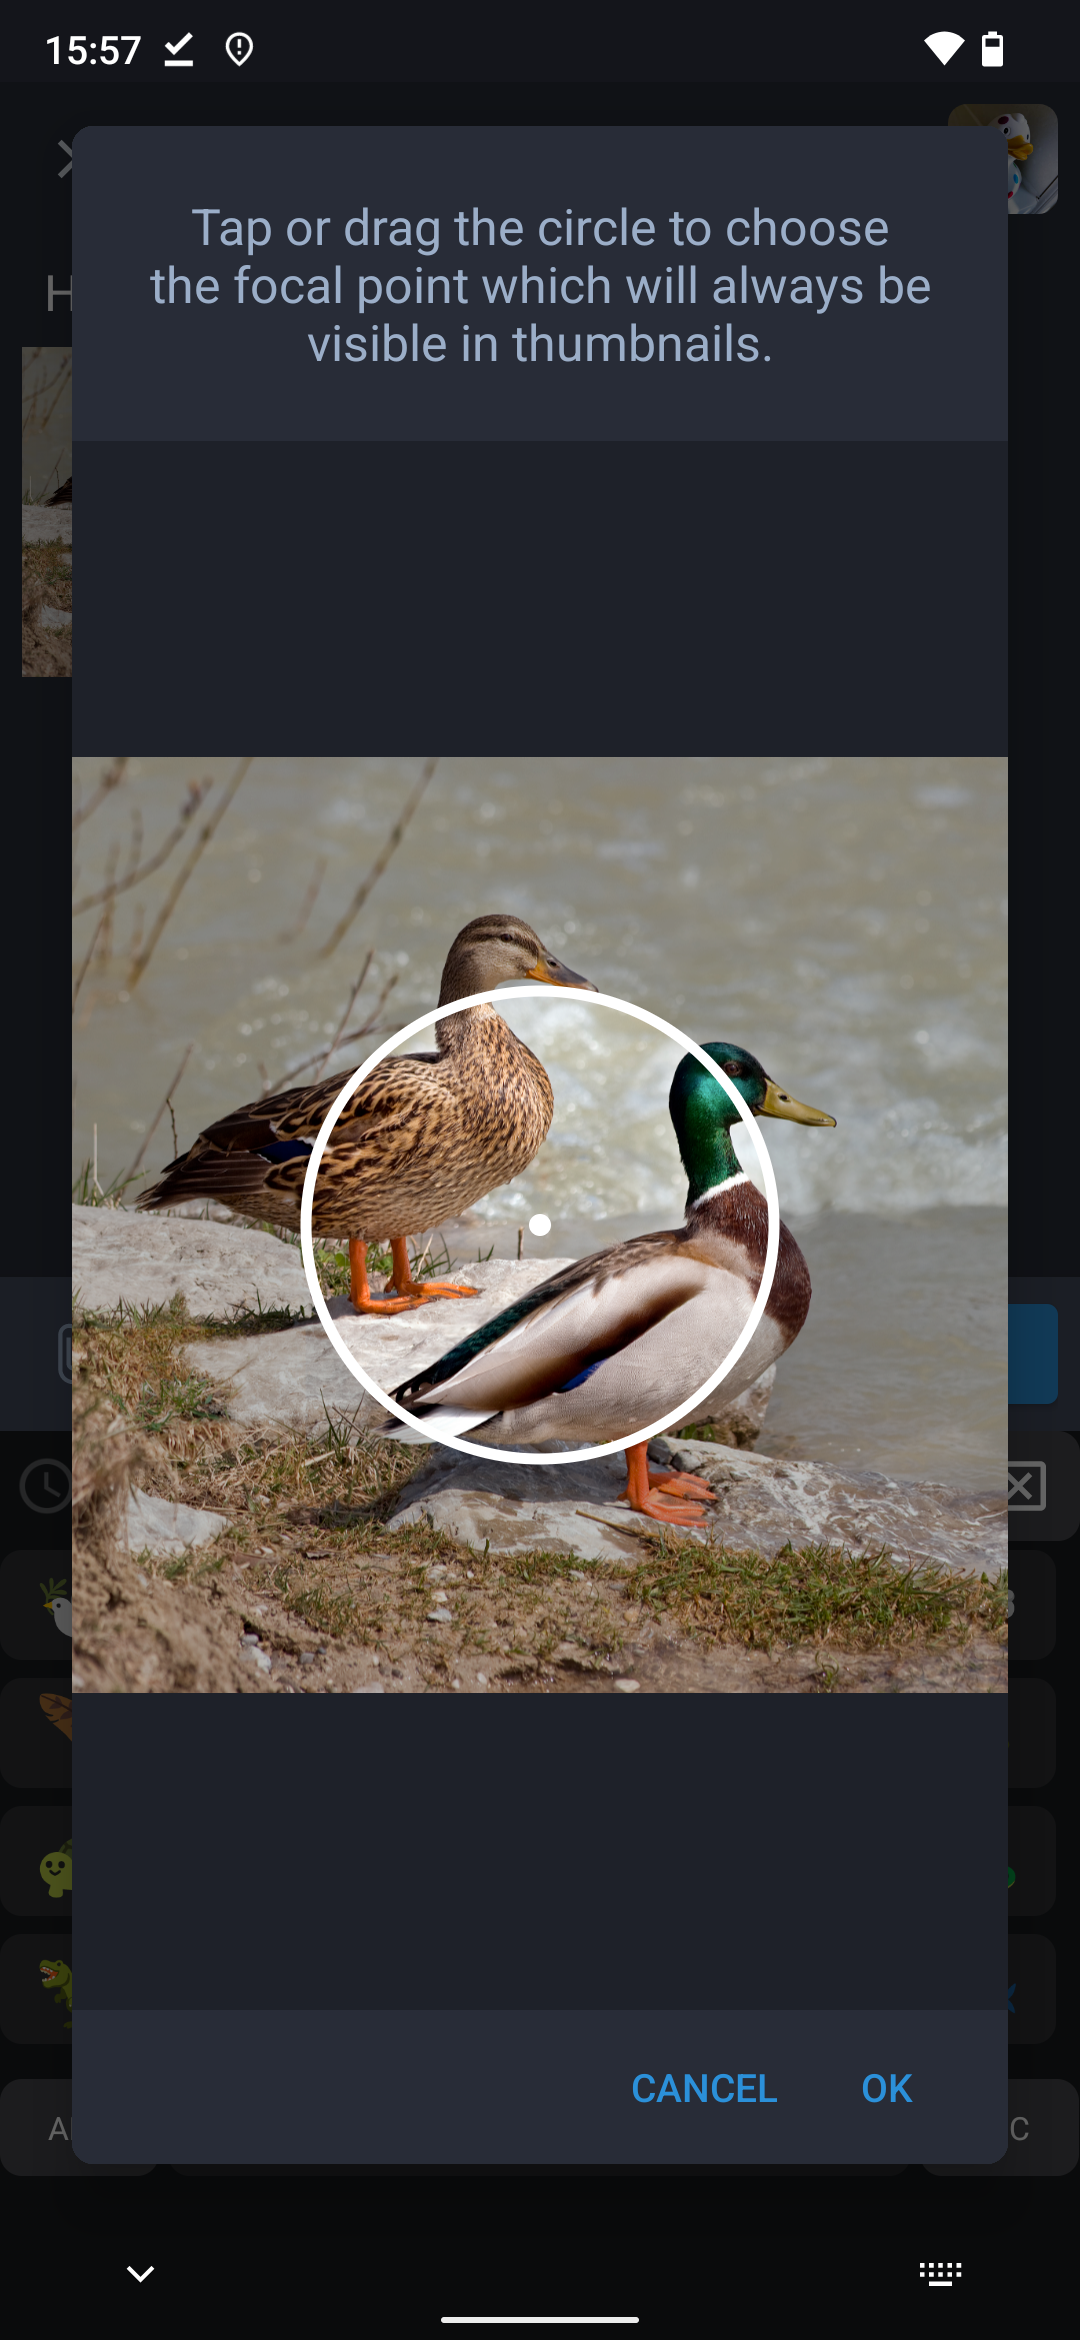
8. Add thumbnail images to your videos
You don’t have to do this, but you may find your videos are more eyecatching to potential viewers if you create and add a still image as its thumbnail, perhaps with the name of the video written on it. You can do this after you’ve published it, and change the image later as well if you want to. The thumbnail is shown when people are browsing PeerTube or viewing a link preview on Mastodon etc.
To access thumbnails, go to your video, click the ⋯ button, then Update > Thumbnail > Select from your device
If you don’t add a thumbnail, the video will automatically show a still from the video itself as its thumbnail.
9. Let people know about your PeerTube account
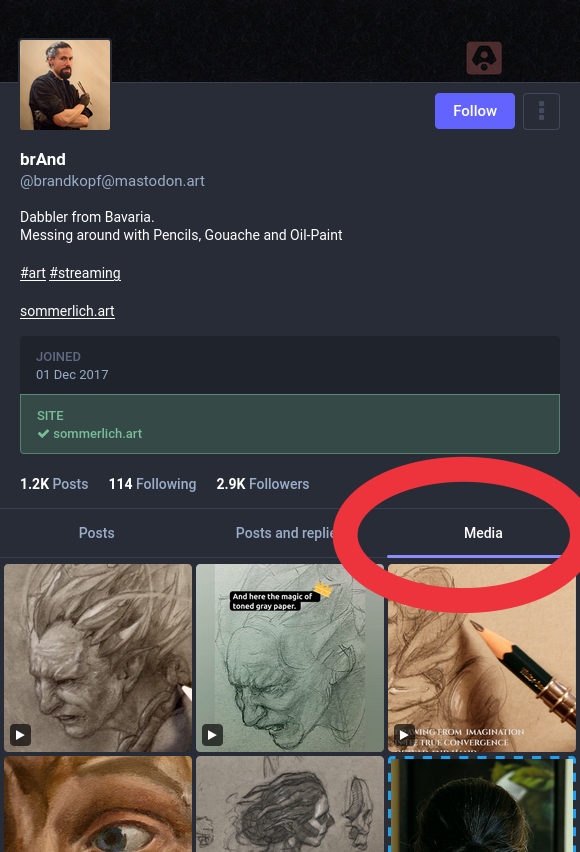
If you have a Mastodon account, tell people about your PeerTube account’s address so they can follow it directly from Mastodon. For example you could post about it, put it in a pinned post, and list the account address on your profile.
If you want your videos to be as visible as possible to a wider audience, it is important to get Mastodon followers for your PeerTube account, because Mastodon has a much larger userbase than PeerTube. Mastodon followers mean each follower’s server will notice whatever videos you upload, and your videos will become visible and searchable to everyone on those Mastodon servers. However, this visibility will only apply to videos uploaded after you were followed, so that’s why it’s important to upload new content gradually as your follower numbers grow.
Alternatively, you can tell my accounts at FediFollows ⧉ and FediVideo ⧉ about your PeerTube account, and I might give it a shoutout!
10. Tell podcast app users how to subscribe to your PeerTube channel feeds
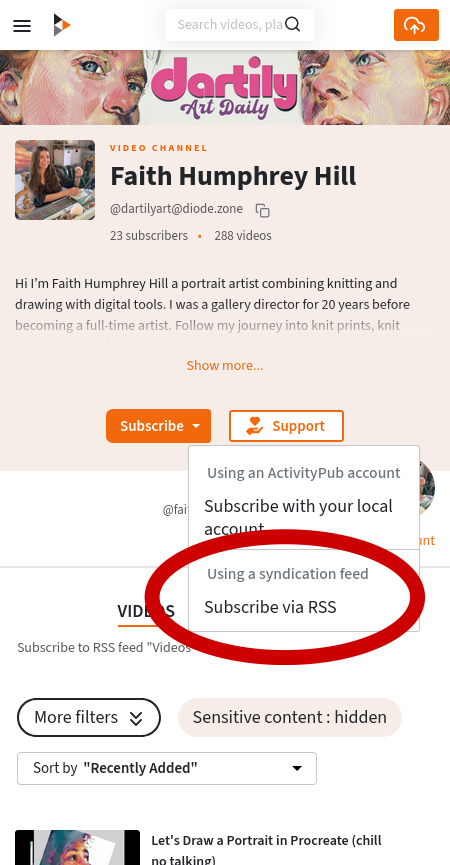
PeerTube channels can be subscribed to via most podcast apps. You might want to let people know this is an option for your PeerTube channel, there’s a guide to how to subscribe to PeerTube on podcast apps here.
Bear in mind though, like all podcasts this is one-directional so people won’t be able to like or comment from their podcast app. Also, podcast subscribers will not show up on your subscriber numbers, though it may show on your view numbers.
By the way, the same podcast link can also be used to subscribe through RSS news feed readers.
11. Discover more tips on promoting PeerTube accounts, channels and videos
See also the guide to how PeerTube publishers can promote their videos, channels and accounts. It covers some of the same stuff as this guide, but has a lot of other promotional suggestions too and is aimed at people wanting to make their PeerTube presence as visible as possible.
Can I import my videos from my YouTube account? Can I sync my PeerTube account to my YouTube account?
Yes, you can find out more in this excellent video guide ⧉ from the managed hosting company FediHost. (By the way, despite the similar names, FediTips has no connection to FediHost 🙂)
What kind of files can I upload to PeerTube? Can I upload audio-only files too?
PeerTube accepts uploads in lots of different video and audio formats. Here’s a complete list:
.webm, .ogv, .ogg, .mp4, .mkv, .mov, .qt, .mqv, .m4v, .flv, .wmv, .avi, .3gp, .3gpp, 3g2, 3gpp2, .nut, .mts, .m2ts, .mpv, .m2v, .m1v, .mpg, .mpe, .mpeg, .vob, .mxf, .mp3, .wma, .wav, .flac, .aac, .m4a, .ac3
If you upload an audio file, you can optionally add a still image as artwork. if you don’t add artwork, the audio file will play over a blank background.
Is there a PeerTube app which includes support for uploading videos?
Yes, the Fedilab app can be used to manage your PeerTube account including uploading videos. It’s mainly known as a Mastodon app, but it also includes full support for PeerTube accounts.
What does PeerTube mean by the word “platforms”?
The PeerTube developers have decided to call PeerTube servers “platforms”. When you see the word platform mentioned on PeerTube, it just means a particular PeerTube server.
Can I replace a video with a new version after I’ve published it?
Yes, if your server admin allows this or if you run your own server. This option can be activated by the server admin by going to Administration > Settings > Configuration > Basic > Videos > Allow users to upload a new version of their video
The reason this option is off by default is because there’s an inherent “bait and switch” danger in allowing videos to be reuploaded as people might upload something nice, encourage people to share it and then replace it with something nasty.
Can I give selected people early access or exclusive access to my videos on PeerTube?
Yes, see the guide here for more details.
If PeerTube is ad-free, what does that mean for sponsorships and donations? Am I allowed to ask for donations? Am I allowed to upload sponsored videos?
Sponsorships and calls for donations are generally fine.
There are popular PeerTube accounts with sponsorships mentioned in their videos (for example The Linux Experiment ⧉), and many PeerTubers have donation links for viewers that want to support their content. You can also create unlisted or password protected videos and share these with your patrons/donors. This is all okay.
The “ad-free” description of PeerTube just means that there is no ad system, and there are no adverts or trackers inserted into videos or websites by PeerTube itself.
If you’re in any doubt about whether something is okay to upload to your server, check with your server admin about what is acceptable there. The server owners are the ones paying the bills for the video hosting, so it’s ultimately their call on what is allowed on their server.
If you run your own server, then it’s even simpler as you can decide yourself what is allowed.
I am trying to run my own PeerTube server and have technical questions. Where can I get help?
There is an official PeerTube hosting forum ⧉ where you can ask for support.
Does PeerTube use blockchain?
No. PeerTube does NOT use blockchain. None of the Fediverse uses blockchain. PeerTube and the rest of the Fediverse use traditional servers, traditional files, traditional connections between servers.
↩ Back to the front page