Since version 4.2.0, Mastodon allows full text search where the entire contents of public posts are included when people do searches.
For privacy and safety reasons, the full text search feature is entirely on an opt-in basis. By default your posts are NOT available to search by that method, and you have to actively opt into full text search to make your public posts searchable without hashtags.
To opt into full text search:
- Log in through your server’s website or the web app
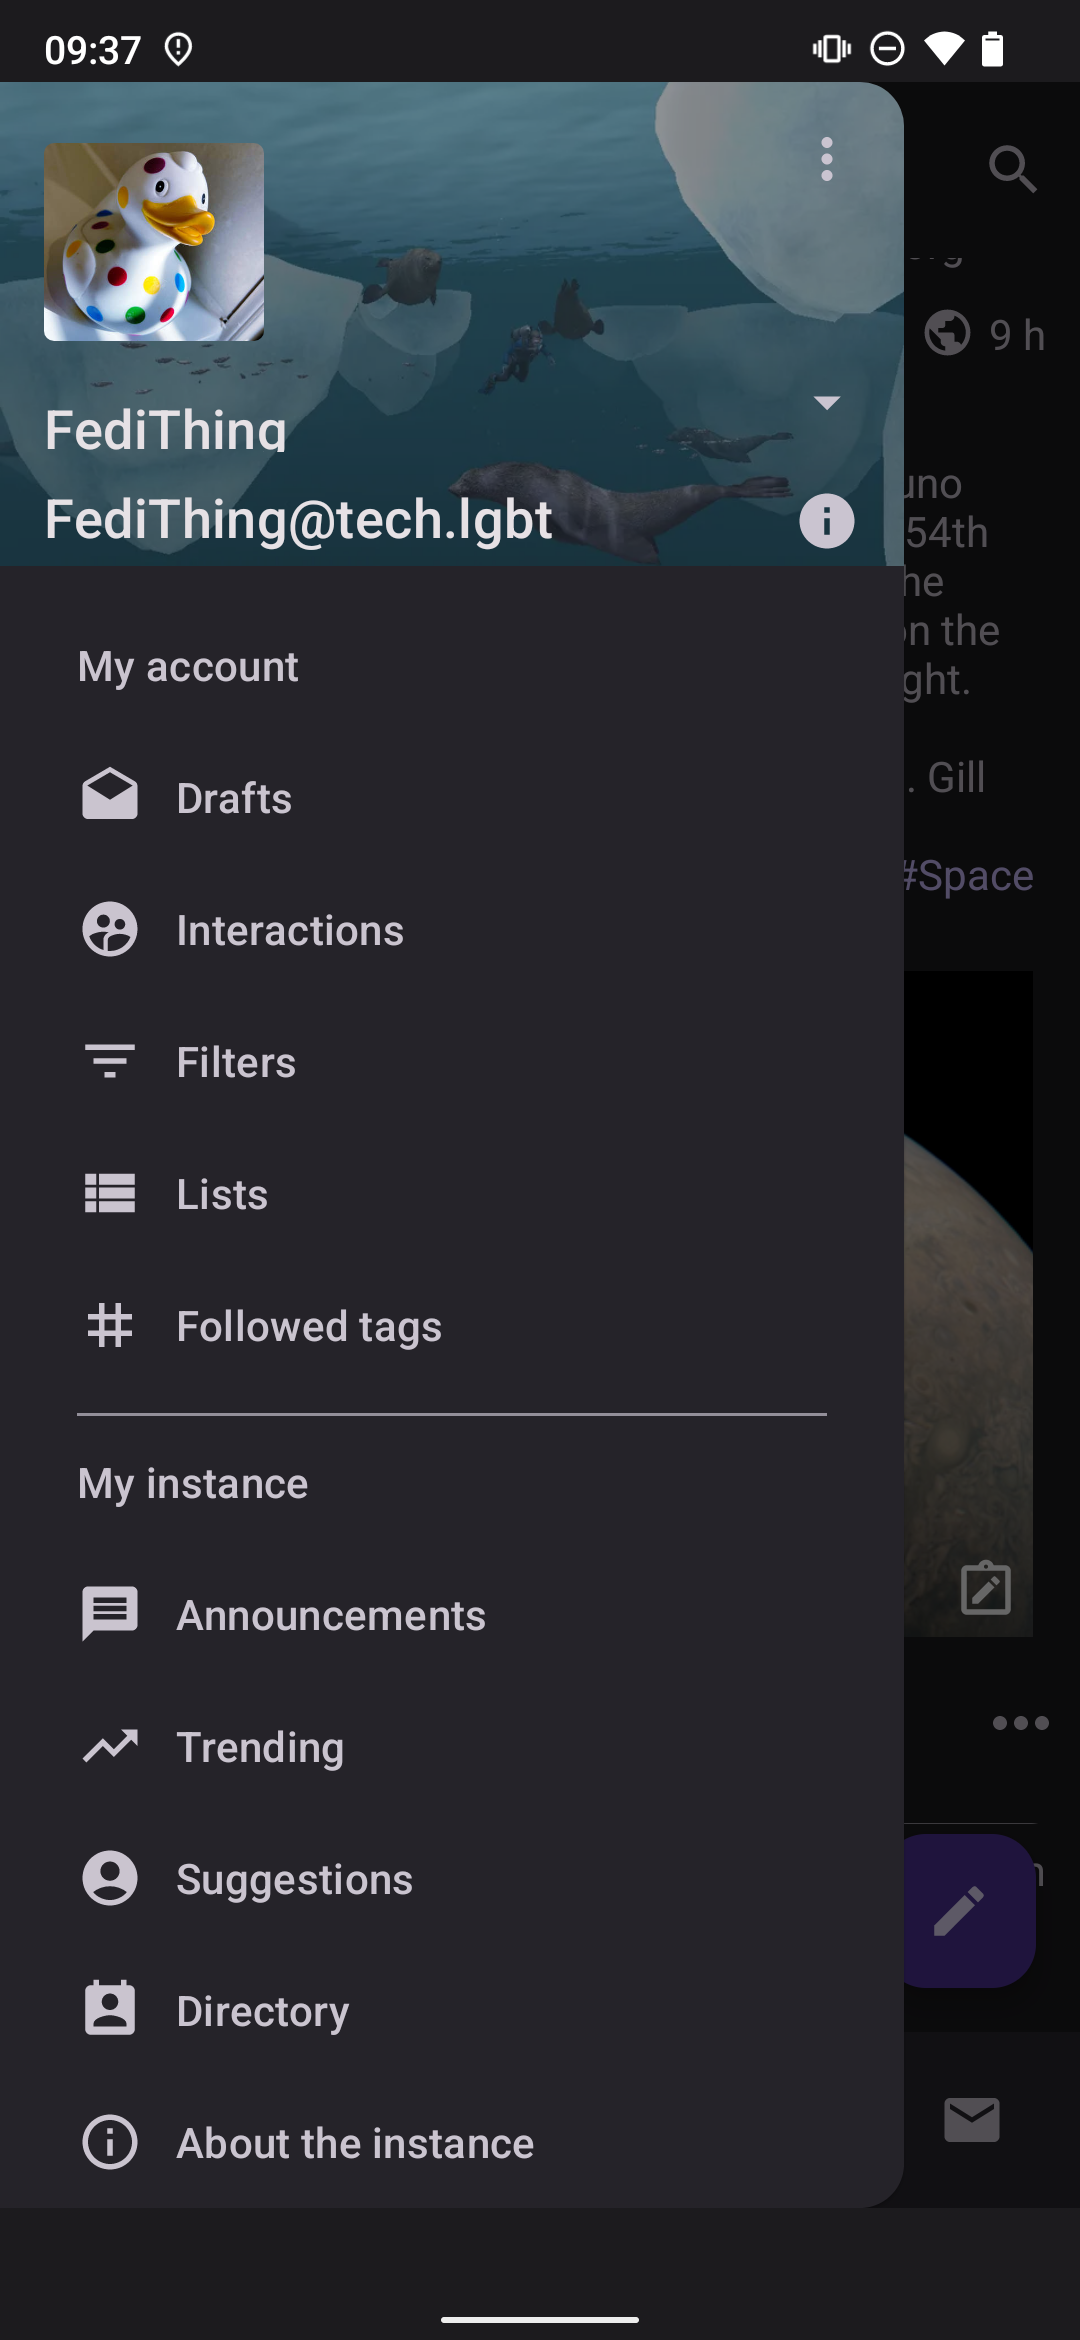
- Click ⚙️ Preferences (if you’re on a phone click ☰ in bottom right and then ⚙️ Preferences)
- Click Privacy and Reach on left of screen (if you’re on a phone click ☰ in top right and then Privacy and Reach)
- Scroll down to the section marked Search
- Tick the box marked Include public posts in search results
- Click the Save Changes button at the bottom of the screen
If you change your mind, do the same steps again but untick the box and then save changes.
What does full text search do exactly? Could you explain in more detail?
When you opt into full text search for your account, it means people will be able to find your public posts by their entire contents. For example if you mention the word “elephant” in a public post, even if it’s not a hashtag, people who search for that word would see your post in the search results.
If you don’t opt into full text search, your public posts will only be searchable by the hashtags you include in them, and none of the other words in the post would be noticed by searches.
If I don’t opt in, can people still find my posts in searches?
Yes, but only if they search for a hashtag you included in your post. If you didn’t include the exact hashtag they searched for, your post won’t show up in their results.
Why isn’t this option on by default?
Some people don’t want their posts searchable by full text. The default search mode for public posts is by hashtags, which means people can control exactly what searches their posts show up in by choosing which hashtags to include. Opting into full text searches mean the entire post is searchable, not just the hashtags.
What if I don’t want to be searchable by full text?
By default, your posts are NOT part of the full text search system. You have to actively opt in using the steps above if you want people to be able to search the entire text of your public posts.
If you don’t opt in, then your public posts are only searchable by hashtag.
What if I want some of my posts to be searchable, but others not searchable?
The search system on Mastodon only shows posts using the Public visibility setting. If you create a post with any other visibility setting it will not show up in search results.
If I opt in, does it make my older public posts full text searchable too?
No. Opting into full text search only applies to public posts written after the opt-in happened, because it tags them with a special tag that allows full text searching. These tags would not be on older public posts, so they won’t be full text searchable (but they will still be hashtag searchable).
If I opt into full text search, can my public posts still be found by hashtag?
Yes. Your public posts will still show up in hashtag searches whether or not you’ve opted into full text search.
If I opt into full text search but my server doesn’t offer full text search, will my public posts still be searchable on other servers?
Yes. When you opt in, the text of your public posts will be picked up by the search system on servers that do offer full text search, even if your server doesn’t.
I’ve opted in but my posts aren’t searchable with words and phrases, what’s going on?
The full text search will only let people search public posts you’ve published after you’ve opted in.
If a post is from before the opt-in it will only be searchable by hashtags.
If a post isn’t using a public visibility, it will not be searchable at all. Searches only ever show results from public posts.
Do I need to opt my own account into full text search if I want to search for other people’s posts by words and phrases?
No, you don’t need to opt in if you just want to search other people’s posts by full text. Opting in only affects whether your own posts show up in full text searches, it doesn’t have any effect on your ability to search other people’s posts.
Bear in mind though, the full text search results will only show you posts from accounts that have opted in. Other accounts which haven’t opted in will not show up in full text searches.
Why doesn’t every server offer full text search?
Full text search requires a server to have an extra service called elasticsearch. This costs extra, and some servers may not have the resources to pay for it.
There are also some servers that prefer to keep things on a hashtag-only basis as they see it as an extra layer of safety.
So, now that there’s full text search, should I carry on using hashtags?
Yes! Using hashtags is still a good idea for several reasons:
- Many people follow hashtags, so your post will get more visibility if you include tags
- Not everyone uses full text search
- Some servers don’t offer full text search due to its extra cost
- Hashtags give a clear sense of topic, they say what the post is about. Text can be ambiguous and unintentional, whereas hashtags show clear intended topics.